
Your step-by-step routine
1. Walking warm-up with relaxed arms
5 minutes total: 4 minutes 30 seconds of walking followed by 30 seconds of easy shoulder movement.
- Walk around a clear space with short, natural steps. Gradually increase the pace a little if comfortable.
- Let your arms swing at your sides rather than deliberately pulling them behind you.
- During the final 30 seconds, stand beside your counter and make small forward-and-back shoulder circles with your arms resting low.
Make it easier: Keep the walk gentle and make the shoulder circles barely visible.
Watch for: The aim is general preparation, not fatigue. Avoid vigorous arm circles or repeatedly reaching into an uncomfortable overhead position.
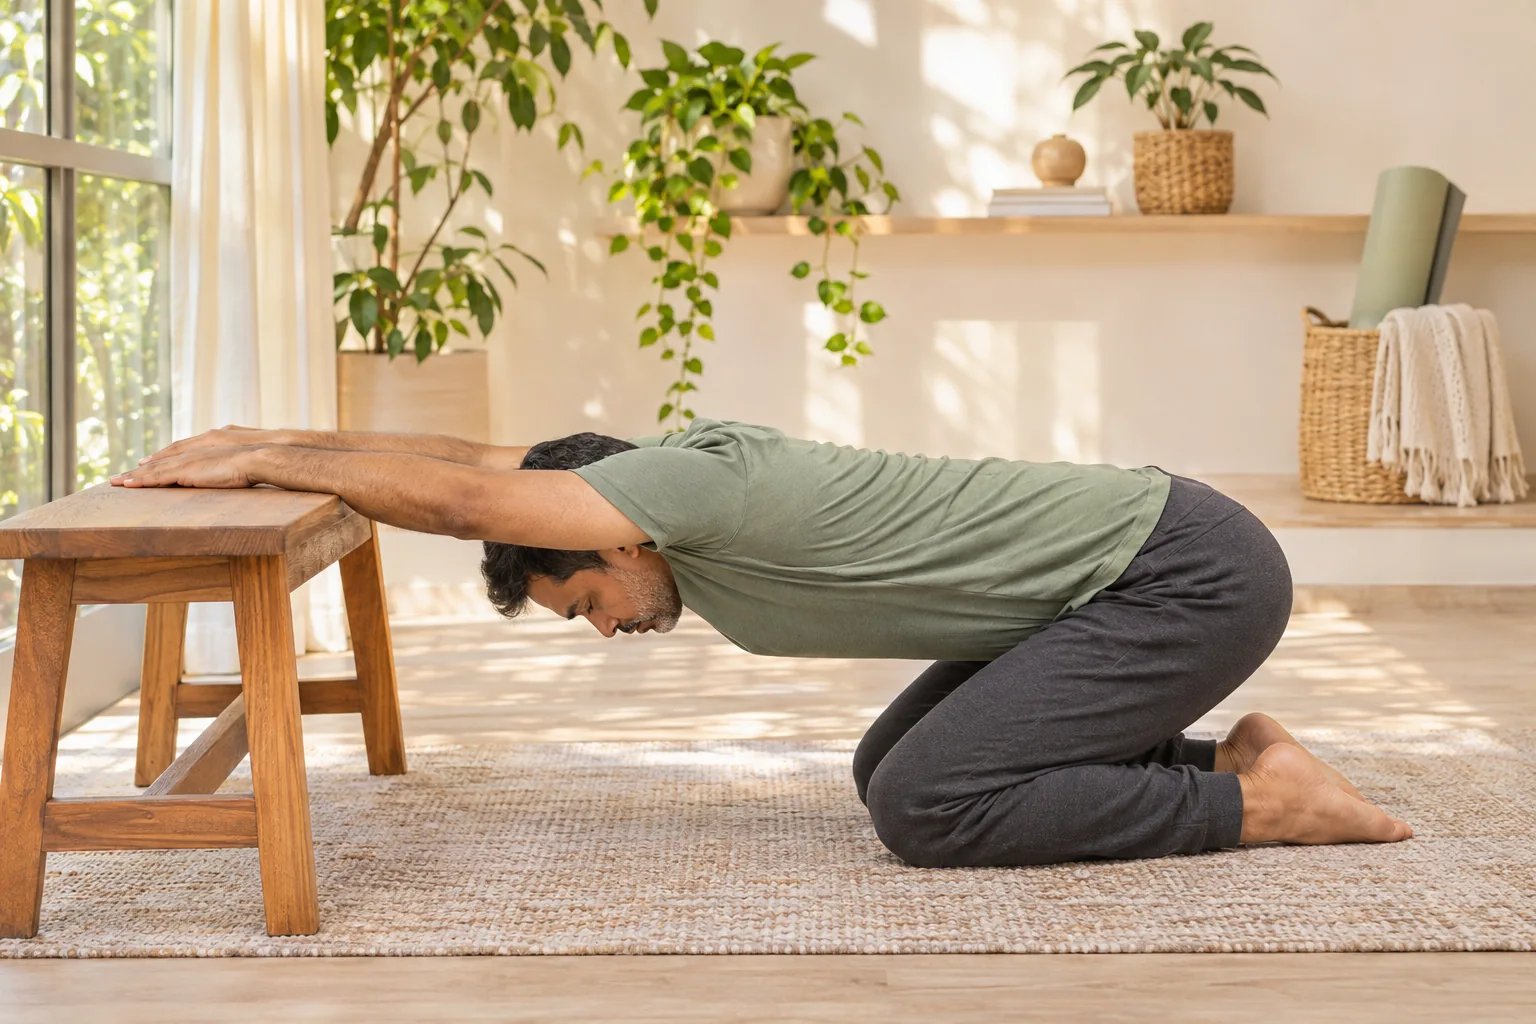
2. Supported countertop rock-back
90 seconds: 20 seconds setup, 6 slow repetitions over 50 seconds, 20 seconds release and transition; one set.
- Face the counter with your hands roughly shoulder-width apart. Step back enough to bend at your hips, keeping your knees soft.
- Move your hips backward while your hands stay still. Let your chest lower only as far as your shoulders allow without strain.
- Pause for a breath, then bring your hips slightly forward to release. Keep your neck in line with your torso.
Make it easier: Stay closer to the counter, bend your elbows and use a smaller hip movement.
Watch for: This is controlled active movement with light support, not a passive hang. Do not push your chest downward or lock your elbows.
3. Countertop lat hold
90 seconds: 15 seconds setup, 2 holds of 20 seconds, 15 seconds rest between holds and 20 seconds transition.
- Return to the same supported hinge with both hands on the counter and feet firmly planted.
- Find a mild stretch along the sides of your upper trunk or below your armpits. Keep your ribs from flaring toward the floor.
- Hold with quiet breathing, come upright for the rest, then repeat once.
Make it easier: Keep your torso higher and let your elbows bend. A smaller angle at the shoulder is a valid option.
Watch for: Do not rest your weight on an open cupboard door, towel rail or movable furniture. Leave the position if your shoulder feels pinched.
4. Single-arm seated side reach
90 seconds: 15 seconds setup, 20 seconds each side, 15 seconds switch and 20 seconds release.
- Sit on a sturdy chair with feet flat and your left hand supported on the seat. Lift your right arm to a comfortable diagonal.
- Lengthen upward first, then lean a small amount left without turning your chest toward the floor.
- Keep both sitting bones in contact with the chair. Return upright before lowering the arm and changing sides.
Make it easier: Rest the reaching hand on the top of your head or keep it on your ribs; reduce the lean.
Watch for: You may feel the side waist as well as the lat region. Do not pull the raised arm with your other hand.
5. Optional kneeling diagonal reach
90 seconds: 20 seconds setup, 20-second reach each side, 10 seconds switching, 20 seconds to stand carefully.
- On a padded mat, begin on hands and knees. Keep your knees comfortable and move your hips back only partway toward your heels.
- Walk both hands slightly left to explore a gentle right-side stretch, keeping your elbows soft and your breathing easy.
- Return through the middle, then move the hands slightly right. Come up slowly using a stable support if needed.
Make it easier: Skip kneeling and repeat the seated side reach for the same time if your knees, wrists or floor transfers are uncomfortable.
Watch for: Your hips do not need to reach your heels. Avoid this option if overhead weight-bearing feels uncomfortable; never force a deeper fold.
6. Easy wall slides to finish
1 minute: 10 seconds setup, 5 repetitions over 40 seconds, 10 seconds release; one set.
- Face a wall with your fingertips resting on it near shoulder height and your feet a comfortable distance away.
- Slide your hands upward a little while keeping your neck relaxed and your ribs quiet.
- Return to the starting height smoothly. Finish by letting your arms rest at your sides.
Make it easier: Slide only a few inches or practice one arm at a time without leaning into the wall.
Watch for: These are active reaches, not another long stretch or a test of maximum overhead range. Stop before shrugging or back arching takes over.
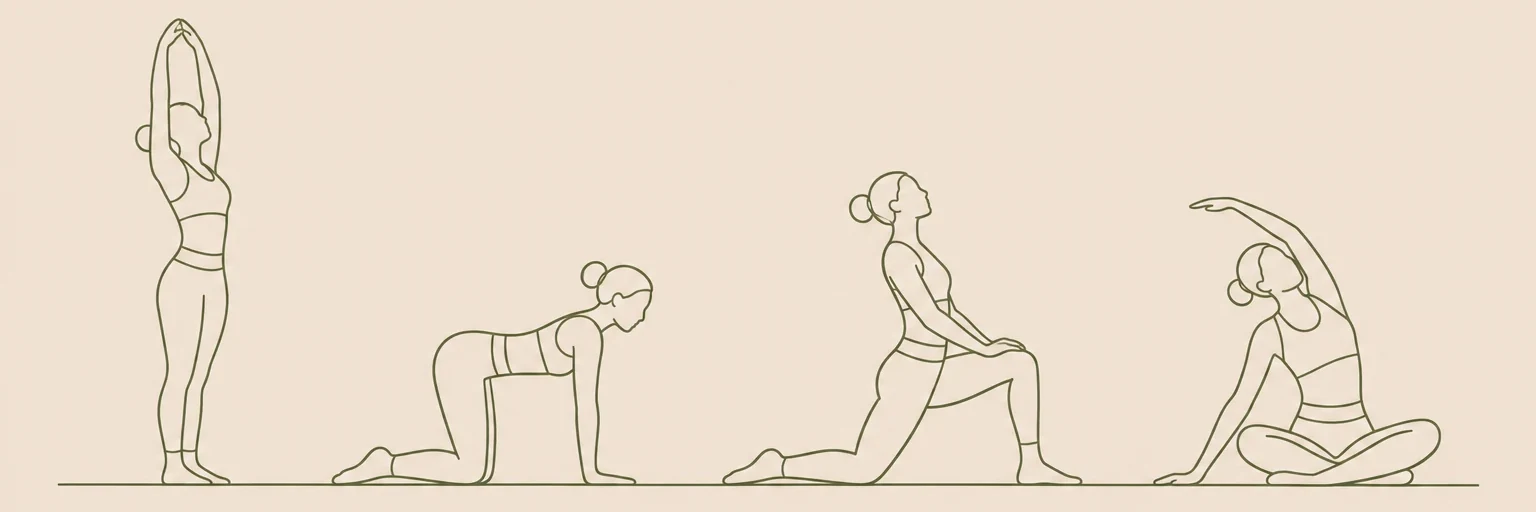
Illustrations are for orientation, not a depth or flexibility target.
What are you stretching along the side of your back?
The latissimus dorsi is a broad back muscle that connects the trunk to the upper arm. Positions that move the arm overhead can lengthen this region, but they also involve the shoulder, rib cage and neighboring muscles. You cannot reliably identify a single muscle from where you feel tension.
The useful target here is comfortable movement, not an isolated pulling sensation. If you mainly notice your lower back, reduce the hip hinge and keep your lower ribs from dropping. If you feel the front of your shoulder instead, lower your hands and choose the seated option.
Why leave dead hangs out of a beginner stretching sequence?
Hanging from a bar requires grip strength and puts substantial body-weight load through the shoulders. That is different from a supported stretch in which your feet and legs carry nearly all your weight. A hang is not simply a deeper version that everybody should work toward.
Likewise, a long kneeling reach still places some weight through the arms. Keep your hips back, use light hand pressure and substitute the chair variation when needed. Do not have another person press your upper back down or pull on your wrists to increase the stretch.
How often should you repeat lat stretches?
Start with this single round on two or three days each week. Keep the holds at the listed length while learning which angles feel comfortable. More pressure and extra rounds are not necessary, particularly after a session with lots of pulling exercises.
If you already feel warm after an easy walk or workout, you can use the seven-minute movement portion on its own. Before swimming, climbing or lifting overhead, use gradual activity-specific preparation too; static stretching does not replace practicing the movements you are about to load.
What can you pair with this session?
For an upper-body alternative, try stretches for chest on a different day rather than adding every hold at once. Our standing stretches for hip flexors cover an upright lower-body option. Browse the stretching hub to choose a small session that fits your space.
Stop if you notice sharp pain, tingling, numbness or symptoms that increase as you continue. Recent shoulder surgery, a history of dislocation or existing movement restrictions calls for individual guidance before overhead stretching. This routine is general exercise information and is not intended to explain or treat shoulder or back symptoms.
Frequently asked questions
Should I round my back during a lat stretch?
You do not need to force either a rounded or deeply arched position. Use a comfortable trunk position, soften your knees and make the reach smaller if your lower back becomes the main place you feel strain.
Can I do this without kneeling?
Yes. Replace the optional kneeling diagonal reach with the seated side reach using the same 90-second block. The countertop and chair versions let you explore overhead and side-reaching positions without a floor transfer.
Will stretching make pull-ups easier?
This sequence does not promise a change in pull-up performance. Pull-ups require strength, skill and tolerance for hanging loads. Gentle stretching and supported reaching are different tasks and cannot replace progressive practice of those demands.
Keep exploring stretches
Find more in our stretches guides, or make the timing your own with the routine builder.
Sources & context
These references inform general movement and safety guidance. The sequence and timings are editorial suggestions, not an individually prescribed program.