
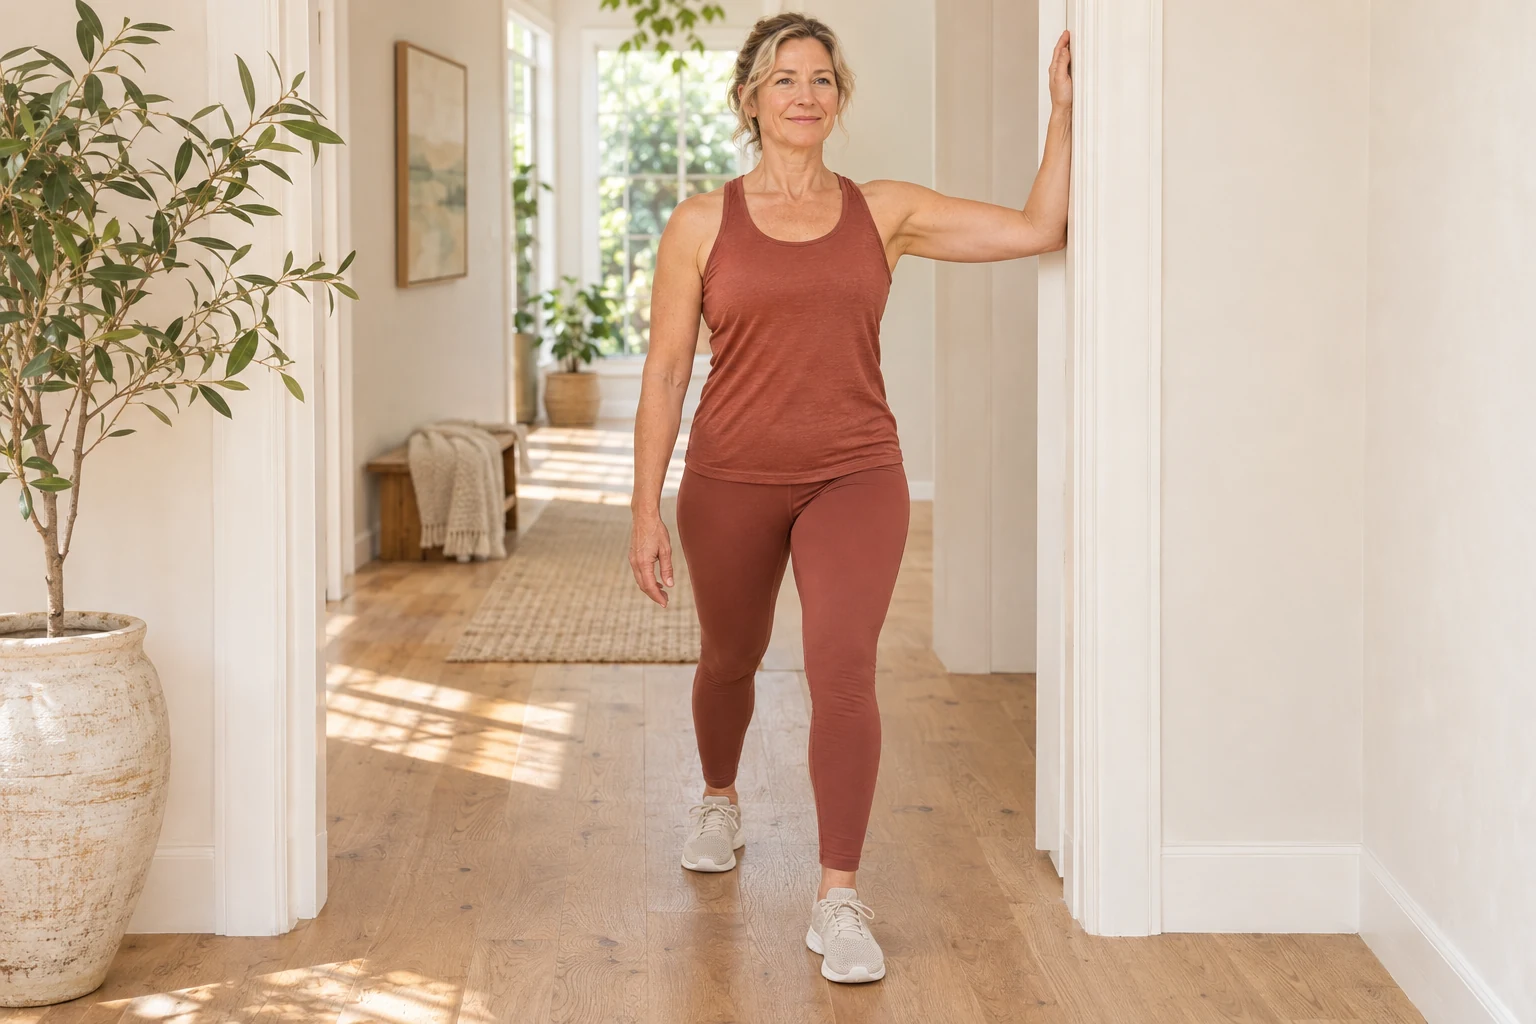
Your step-by-step routine
1. Walk with easy arm swings
5 minutes: 4 minutes 30 seconds of easy walking, then 30 seconds beside the chair to prepare.
- Walk on a level, clear surface and let your arms swing naturally near your sides.
- Gradually increase the pace a little if comfortable, keeping your shoulders relaxed rather than pulling them backward.
- Use the last 30 seconds for gentle stepping and checking that the chair and doorway are stable.
Make it easier: Use shorter steps and a slower pace. Keep your arms quiet if swinging them is uncomfortable.
Watch for: Do not use forceful backward arm swings to create a stretch while walking.
2. Seated chest-opening movement
1 minute: 10 seconds setup, 5 repetitions over 40 seconds, 10 seconds transition; one set.
- Sit toward the front of a sturdy chair with feet flat and hands resting beside your hips.
- Gently widen your collarbones and let your shoulders move a little backward without lifting your chin.
- Return to a relaxed position after each repetition. Keep your ribs stacked over your pelvis instead of pushing your chest dramatically forward.
Make it easier: Make the movement smaller and keep both hands on your thighs.
Watch for: This is active preparation, not a forceful shoulder-blade squeeze. Do not hold your breath.
3. Low-arm single doorway hold
2 minutes: 2 holds of 20 seconds each side, with 10 seconds after each hold to release, reset or switch.
- Place your right forearm on the doorway with the elbow comfortably below shoulder level. Stand in a short staggered stance.
- Turn your feet and torso together a small amount away from the right arm until you notice mild chest tension.
- Keep the shoulder away from the ear. Release fully between holds, complete two on the right, then switch sides.
Make it easier: Move your elbow lower and turn less. If the forearm position is awkward, rest the hand on the frame with the elbow slightly bent.
Watch for: Do not lean your body weight forward through the arm. Front-of-shoulder pinching is a cue to stop, not to turn farther.
4. Supported floor goalpost
90 seconds: 25 seconds to get down and set up, 2 holds of 20 seconds, 10 seconds rest and 15 seconds transition.
- Lie on your back with knees bent, feet flat and a small pillow under your head if needed.
- Place your upper arms below shoulder height and bend your elbows so your hands point upward toward the space behind your head.
- Support the forearms on folded towels if they do not rest comfortably. Let the position be easy rather than pressing your hands to the floor.
Make it easier: Use a lower, wider arm position or replace the floor block with the seated chest-opening movement at a gentle pace.
Watch for: The floor is not a target your wrists must reach. Do not add weights to your hands or ask someone to press them downward.
5. Low-angle side-lying opening
90 seconds: 15 seconds setup, 20 seconds each side, 15 seconds switching and 20 seconds returning to sitting.
- Lie on your left side with knees comfortably bent, head supported and arms reaching in front of you below shoulder height.
- Move your right arm back a small distance as your upper chest turns with it. Keep your knees together and support the arm with a folded towel if needed.
- Pause in a comfortable position without trying to reach the floor behind you. Return the arm forward before rolling to the other side.
Make it easier: Keep the top hand on your ribs and use a smaller upper-chest turn, or repeat the seated option.
Watch for: This includes trunk rotation as well as chest positioning. Avoid it if you have been told to limit spinal rotation.
6. Relaxed standing reset
1 minute: 20 seconds to stand carefully, then 40 seconds of easy walking or stepping.
- Roll onto your side and come up gradually, using a sturdy support if that is your normal way of getting off the floor.
- Stand with your arms hanging naturally and take comfortable steps.
- Let your shoulders settle where they feel easy instead of holding them pinned backward.
Make it easier: Stay seated for the reset if you used the chair substitutions or need more time before standing.
Watch for: Pause if you feel lightheaded. Take additional transition time when needed rather than rushing to meet the timer.
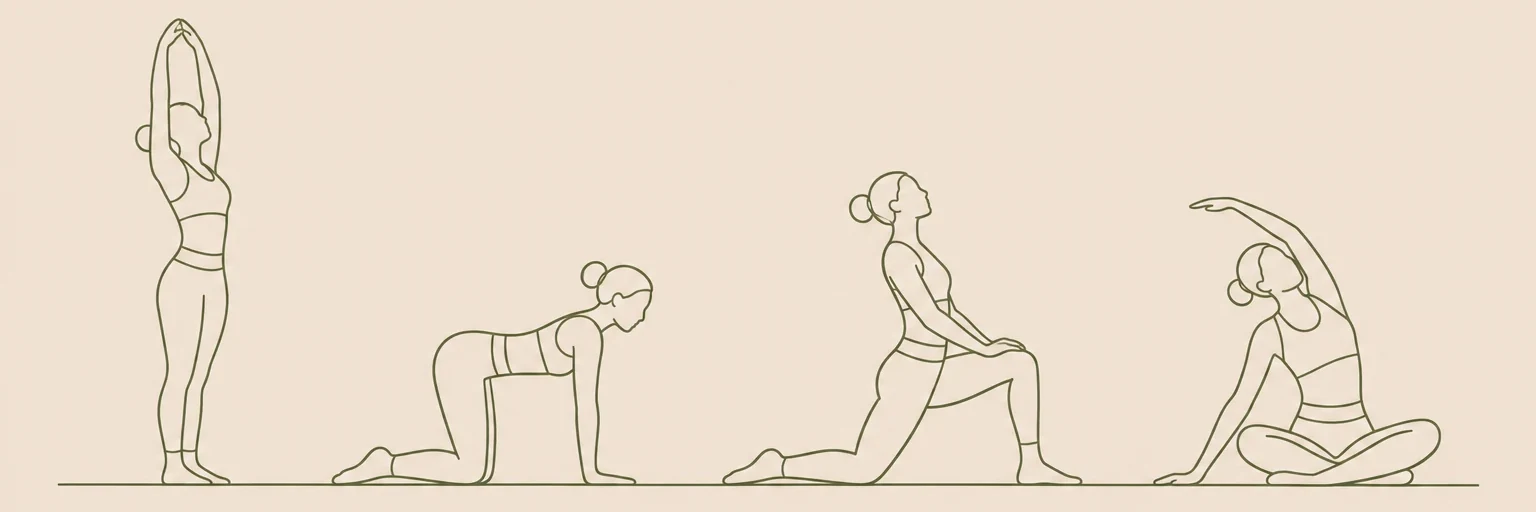
Illustrations are for orientation, not a depth or flexibility target.
How much tension should a chest stretch create?
Use a mild pulling sensation across the upper chest, with room to breathe normally. The arm angle that feels comfortable may differ between sides. A low elbow is a starting option, not a rule that guarantees a particular muscle will be isolated.
A strong pull at the front of the shoulder is not the goal. Shorten the turn, lower the arm or skip that position. Burning, tingling, numbness or sharp discomfort means stop. Do not repeatedly retry the same position with more pressure.
Why stretch one arm at a time in the doorway?
One arm lets you adjust the height and angle independently. With both forearms braced, it is easy to step too far forward and let your body weight lever both shoulders backward. There is no need to use that deeper position to complete a chest routine.
Keep your feet involved in the turn rather than twisting hard through your lower back. The support should guide the position, not anchor you while you hang into the joint. If the frame is too wide, choose the chair or supported floor option rather than reaching for it.
Does chest stretching change posture?
A short stretch may feel pleasant after sitting, but this routine does not promise a lasting change in posture. Your resting position varies with your task, fatigue and preferences. You do not need to keep your shoulder blades squeezed together throughout the day.
Changing position, taking a walk and including appropriate strength work are separate choices from passive stretching. If you want a different upper-body focus, stretches for lats explore supported overhead reaching without treating one posture as the only correct one.
When should you use or skip these holds?
Begin with one round on two or three days a week, staying within the listed hold times. After an existing warm-up, the movement portion takes seven minutes. Before push-ups, throwing or other demanding upper-body activity, add a gradual warm-up specific to that task rather than relying on these static holds.
These movements are for general flexibility, not for investigating chest symptoms. New or unexplained chest pain, pressure or breathlessness is not a stretching problem to work through; seek urgent medical help, especially when symptoms are severe or sudden. With recent surgery, a shoulder injury or movement restrictions, get individual advice before starting.
For a separate lower-body session, see standing stretches for hip flexors. The stretching hub helps you pick one short routine rather than making an ever-longer list of holds.
Frequently asked questions
Do I need to hold my hands together behind my back?
No. That position requires shoulder extension and may tempt you to pull hard with clasped hands. A low-arm doorway hold or supported floor position gives you other ways to adjust the range without forcing your arms backward.
Should my forearms touch the floor in the goalpost position?
No. Use folded towels to support them and lower the arm angle if needed. Pressing your wrists down can turn a gentle position into an unwanted shoulder demand. The aim is comfortable support, not matching a picture.
Can I stretch my chest after push-ups?
You can consider a gentle hold after you have recovered your breathing, provided the position is comfortable. Do not push deeper because your muscles are tired, and skip stretching if you notice joint discomfort or unusual symptoms.
Keep exploring stretches
Find more in our stretches guides, or make the timing your own with the routine builder.
Sources & context
These references inform general movement and safety guidance. The sequence and timings are editorial suggestions, not an individually prescribed program.