
Your step-by-step routine
1. Walk and prepare your space
5 minutes total: 4 minutes 30 seconds walking, then 30 seconds of easy marching beside your support.
- Walk around a clear room at an easy pace, allowing your arms to swing naturally. Keep steps comfortable rather than reaching far forward.
- Gradually make the walk a little brisker if that feels comfortable, while keeping your breathing steady enough for conversation.
- For the final 30 seconds, march gently beside your support and check that the chair cannot slide.
Make it easier: Walk slowly with shorter steps. If standing balance is uncertain, skip this routine until you have appropriate individual guidance.
Watch for: This is an active warm-up, not a hip flexor stretch. Stop if you become dizzy or unsteady.
2. Supported pelvic-position practice
1 minute: 15 seconds setup, 6 slow repetitions over 30 seconds, 15 seconds to change position; one set.
- Stand facing your support, feet about hip-width apart, knees unlocked and hands resting lightly.
- Exhale and gently bring your belt buckle upward a little, without squeezing hard or leaning backward.
- Return to a relaxed middle position. Keep the movement small and repeat slowly.
Make it easier: Use a very small pelvic movement and keep both hands on the support.
Watch for: Do not force your lower back flat or hold your breath. This is positioning practice rather than a sustained passive stretch.
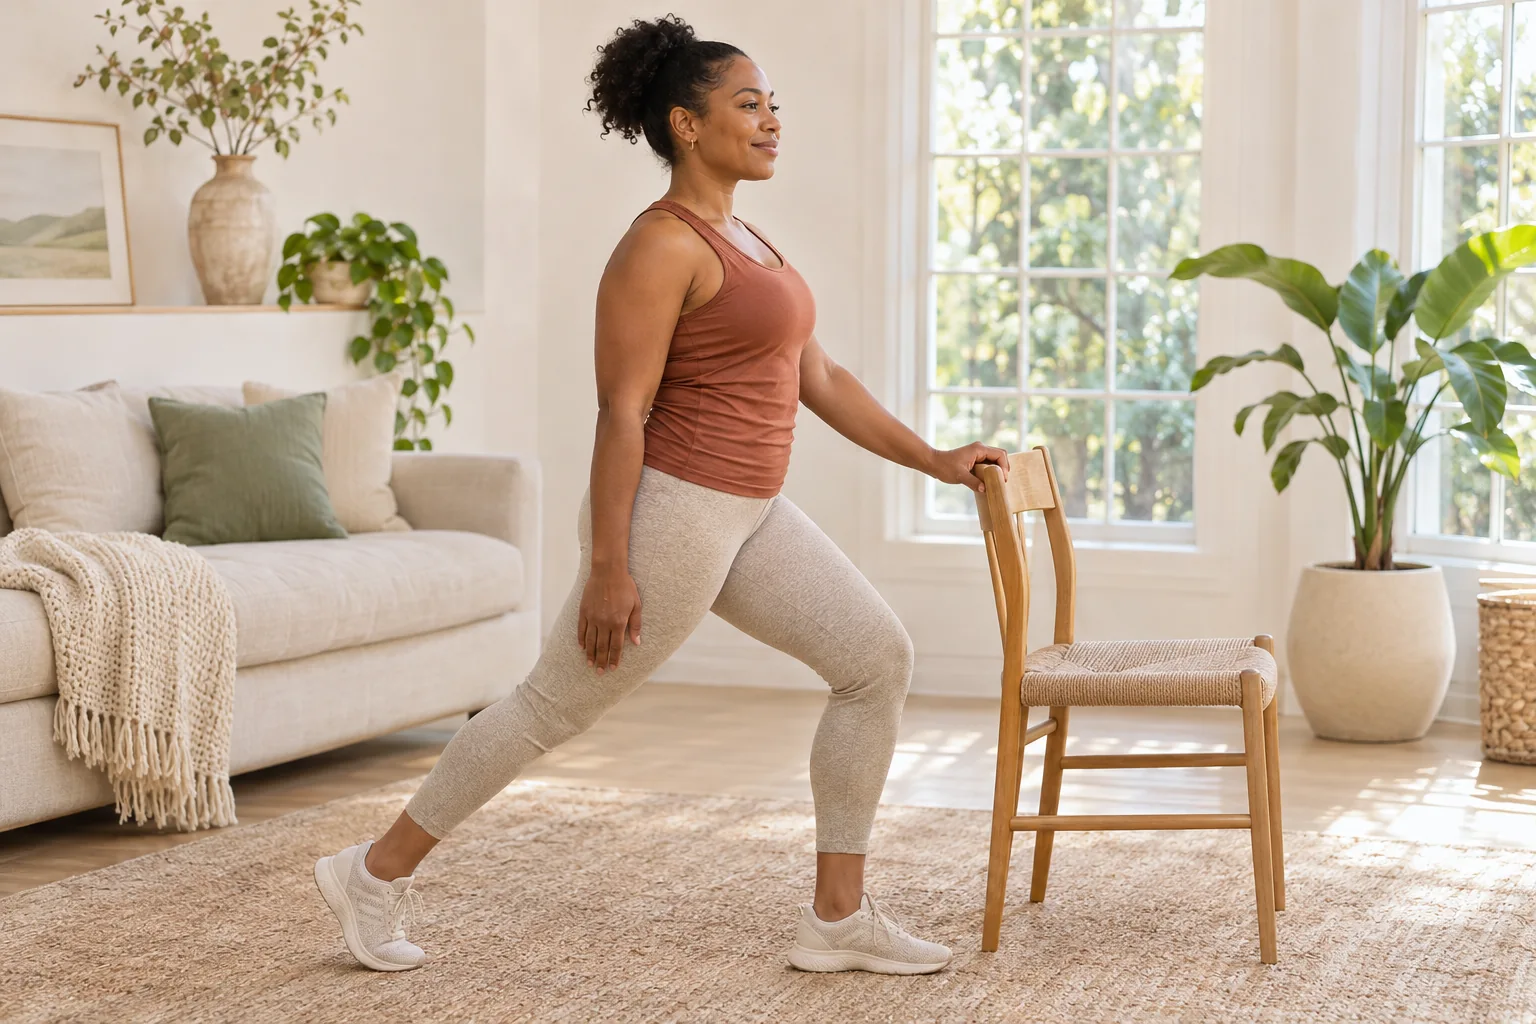
3. Supported split-stance hip flexor hold
2 minutes: 2 holds of 20 seconds per side, with 10 seconds after each hold to release, reset or switch; one set.
- Face the wall with hands at a comfortable height. Step your right foot back a short distance, keeping the feet on separate tracks rather than a tightrope.
- Lift the right heel, soften both knees and gently tuck your pelvis. Bend the front knee a little while keeping your torso upright.
- Pause at mild tension at the front of the right hip. Release before repeating, then change legs after two holds.
Make it easier: Shorten the stance and reduce the front-knee bend; you may feel enough stretch from the pelvic adjustment alone.
Watch for: A deep forward lunge can turn this into demanding leg work. Keep pressure light through the hands and avoid arching your back.
4. Small overhead-reach variation
90 seconds: 15 seconds setup, 20-second hold right, 15 seconds switch, 20-second hold left, 20 seconds release.
- Place your left hand on the chair and take a short split stance with the right leg behind you.
- Repeat the gentle pelvic tuck, then lift the right arm forward and upward only as far as your shoulder comfortably allows.
- Keep your ribs over your pelvis. Hold without leaning sideways, then release and swap your support hand and back leg.
Make it easier: Leave the reaching hand on your hip and repeat the basic split-stance version.
Watch for: The raised arm is optional. If the movement mainly creates a lower-back arch, lower the arm and shorten your stance.
5. Optional standing front-thigh hold
90 seconds: 15 seconds setup, 20 seconds each side, 15 seconds switching, 20 seconds release.
- Hold your support with the left hand. Bend the right knee and bring the right heel toward your seat only if you can reach your ankle without twisting.
- Hold the ankle gently, keep your knees near each other and let the bent knee point toward the floor.
- Keep the pelvis quiet and stop at a mild front-thigh stretch. Release the foot slowly and switch.
Make it easier: Do not chase your foot or use a chair to force it upward. Repeat a short split-stance hold instead if the ankle is out of reach.
Watch for: This emphasizes the front thigh, including a muscle that crosses the hip, rather than isolating every hip flexor. Stop for knee discomfort.
6. Relaxed stepping finish
1 minute: 40 seconds easy stepping, then 20 seconds standing comfortably beside the support.
- Return both feet underneath you and take small steps in place with relaxed shoulders.
- Let your stride return to its usual size rather than trying to preserve a stretched feeling.
- Finish with both feet planted and notice whether you feel steady before walking away.
Make it easier: Keep one hand resting on the support throughout.
Watch for: This is an active transition out of the holds, not a balance challenge or strength set.
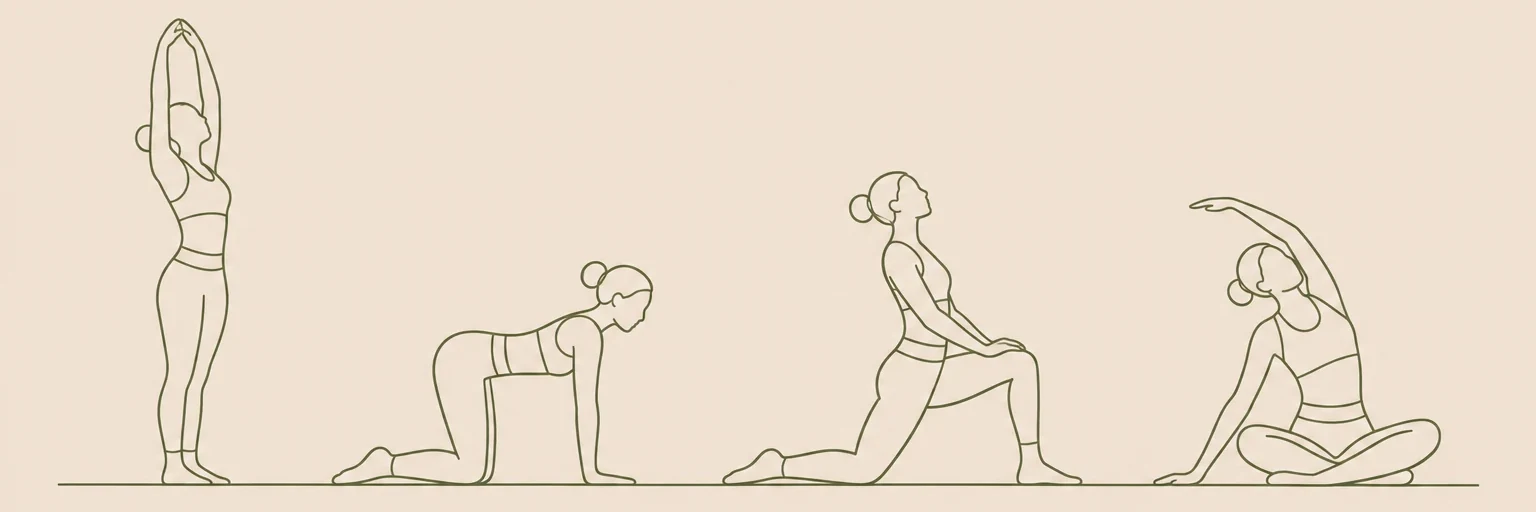
Illustrations are for orientation, not a depth or flexibility target.
Where should a standing hip flexor stretch be felt?
Look for gentle, broad tension toward the front of the hip on the leg behind you. You do not need a dramatic sensation. A pinch deep in the front crease, pressure in the knee or an ache in your lower back is a reason to leave the position rather than push farther.
The hip flexors are a group of muscles, not a single tight cord. A standing routine cannot tell you why an area feels stiff, and a strong sensation does not prove that you have found the right muscle. Move your pelvis first, then make the smallest useful stance adjustment.
How do you keep the stretch out of your lower back?
Think of stacking your rib cage above your pelvis. Keep your gaze level and your front knee pointing in the same direction as your toes. If you tip your chest upward or send your belly forward, shorten the distance between your feet and begin again.
The back heel stays lifted here deliberately. Pressing it down would add a calf demand and may encourage an unnecessarily long stance. If you want a separate lower-leg session, use our stretches for soleus rather than trying to stretch everything at once.
When and how often should you use this routine?
Try it on two or three days a week initially, using only one round. Comfortable consistency is more useful than extending every hold. On days when you have already walked long enough to feel warm, the five-minute warm-up can be part of that walk; the remaining sequence takes seven minutes.
These supported holds are mainly static stretches, although your legs still support your body weight. They are not a substitute for strength training or a running warm-up. Before sport, follow your normal gradual, activity-specific preparation rather than relying on stationary holds alone.
How can you build a balanced stretching session?
Choose the areas you actually want to move instead of collecting every stretch. The stretching hub organizes short routines, while stretches for chest offer a separate upper-body option for another session.
Stop for sharp pain, tingling, numbness, dizziness or increasing discomfort. If you are recovering from an injury, have recent surgery or have been given movement restrictions, ask your clinician which positions are appropriate before starting. This is general exercise guidance, not an assessment or treatment plan.
Frequently asked questions
Can I stretch my hip flexors without kneeling?
Yes. A supported short split stance lets the back hip move into gentle extension while both feet remain on the floor. The pelvic adjustment matters more than the depth of the lunge, and a wall can reduce the balance demand.
Should both sides feel exactly the same?
Not necessarily. Use the same planned time but choose each side's comfortable range separately. Do not force the less comfortable side to match. A new or marked difference accompanied by symptoms deserves individual advice rather than extra stretching.
Is a standing quad stretch the same as a hip flexor stretch?
No. It emphasizes the front thigh, although the rectus femoris also crosses the hip. It is included as an optional companion, not as proof that every hip flexor has been stretched. Skip it if reaching your ankle changes your balance or bothers your knee.
Keep exploring stretches
Find more in our stretches guides, or make the timing your own with the routine builder.
Sources & context
These references inform general movement and safety guidance. The sequence and timings are editorial suggestions, not an individually prescribed program.