
Your step-by-step routine
A ten-minute lead-in to an easy run
Start with two minutes of walking on level ground, gradually moving from a stroll toward your normal purposeful walking pace. Set up beside a secure railing before the movement stations. A loose fence, traffic sign or another person's shoulder is not a dependable substitute for stable support.
The six stations begin at 2:00, 3:00, 4:00, 5:00, 6:00 and 7:00. Each includes both sides, any balance resets and its transition. Do not add a second minute for the second leg. If you finish the repetitions early, stand comfortably or take a few easy steps until the next minute.
From 8:00 to 10:00, walk or jog very easily at a pace where conversation is straightforward. Choose walking if jogging feels abrupt. This completes the routine, not necessarily your entire running warmup: colder conditions, a faster planned session or your own training plan may call for a longer, more specific lead-in. Do not launch directly into hard intervals because ten minutes has elapsed.
Why use small active movements before running?
The goal here is to rehearse several hip motions while you stay balanced and warm, not to create the largest possible range. Marches emphasize lifting the thigh; short leg swings alternate forward and backward motion; lateral shifts introduce controlled side-to-side loading. The sequence gives you a practical way to notice how today's movement feels without turning that observation into a diagnosis.
A passive stretch uses a position or outside support to hold a lengthened position. These drills mostly use your muscles to move repeatedly, and some load the standing leg with body weight. A strong pulling sensation is unnecessary. Neither this sequence nor any single stretch can guarantee faster running, a longer stride or freedom from injury.
When not to use a warmup as a workaround
Stop any drill that produces sharp pain, catching, pinching, tingling or numbness. Do not repeat it more forcefully to loosen the area. If walking or easy jogging feels uncomfortable, changes your stride or makes you hesitate to load one leg, skip the planned run and seek suitable guidance rather than treating this routine as a readiness test.
Recent surgery, an injury or exercise restrictions call for individualized advice from a qualified healthcare professional. Stop the whole session for dizziness, chest discomfort, faintness or unusual breathlessness and seek appropriate help. This is general exercise guidance, not a treatment plan, running assessment or return-to-sport clearance.
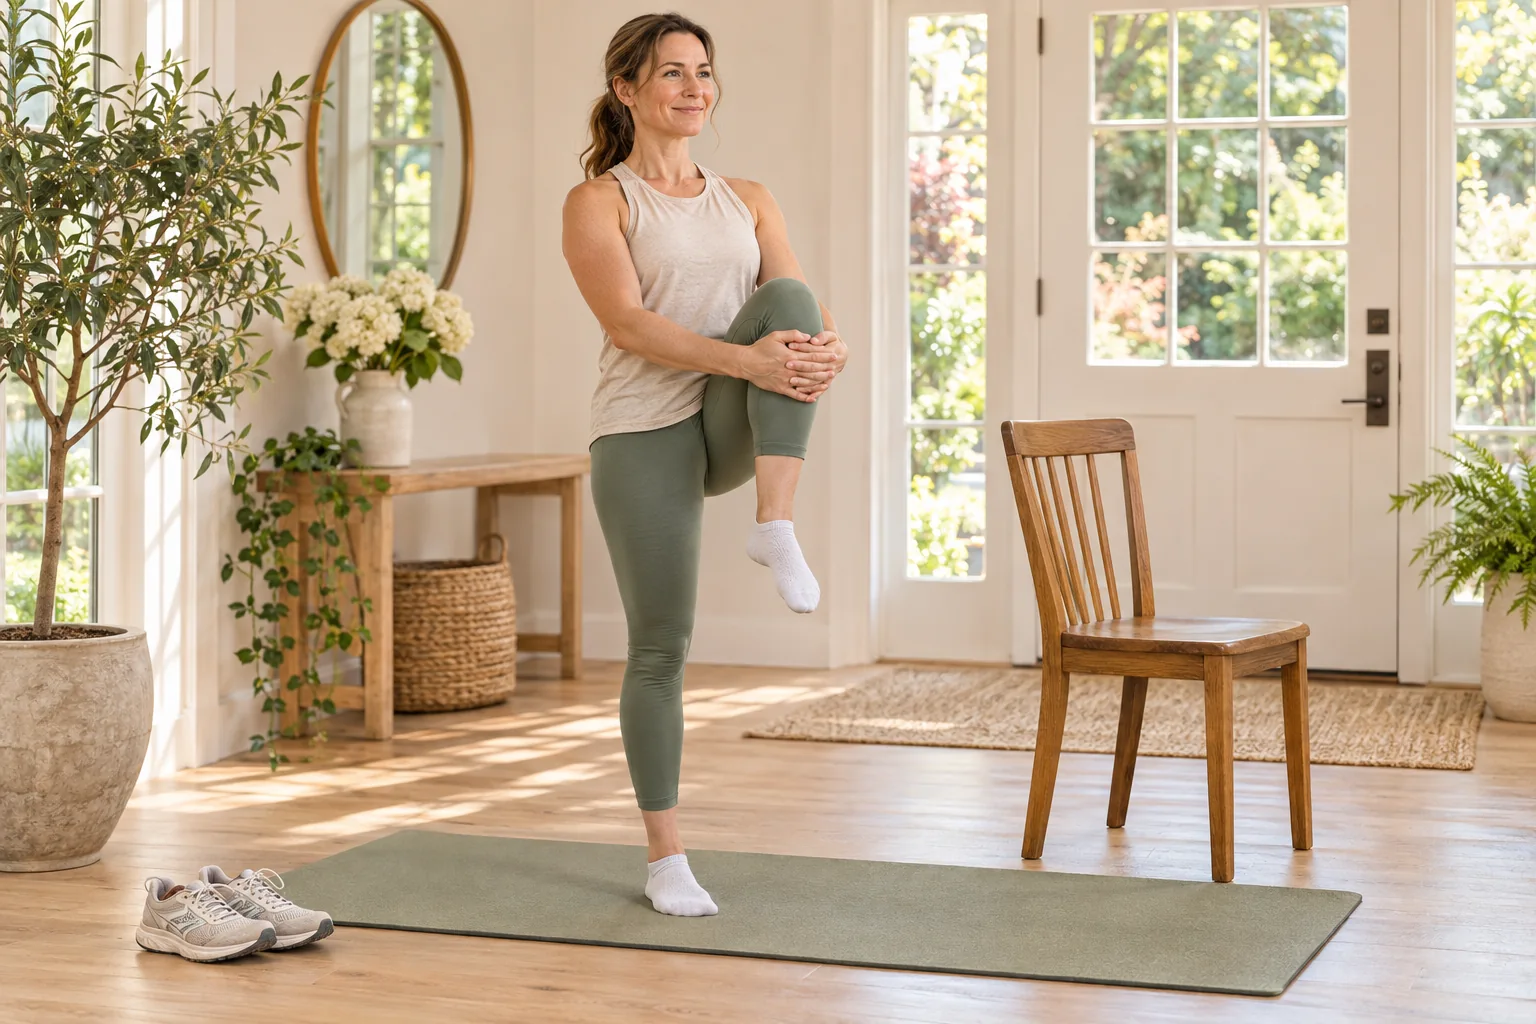
1. Supported marching
1 set of 5 lifts per leg, alternating, over 50 seconds; allow 10 seconds to reset.
- Stand tall beside a railing and hold it lightly. Keep your standing knee soft and your gaze forward.
- Lift one knee to a comfortable height, pause briefly and set the foot down quietly. Let the hip bend without leaning backward.
- Alternate for ten total lifts. Move slowly enough that your pelvis does not swing from side to side.
Make it easier: Lift the foot only just clear of the ground or keep the toes touching as the heel rises.
Watch for: Knee height is optional. Avoid hitching one side of your waist upward to create a bigger lift.
2. Short forward-and-back leg swings
1 set of 6 swings per leg: about 20 seconds each side, 10 seconds to change sides and 10 seconds to transition.
- Stand side-on to a secure support. Let the outside leg hang comfortably, with a slight bend in its knee.
- Move the leg a small distance forward and back under control. Count one forward-and-back movement as one repetition.
- Keep the arc low and your trunk mostly still. Turn around to give the other leg the same supported setup.
Make it easier: Keep the moving toes on the ground and slide the foot forward and back.
Watch for: Do not kick, bounce into the end range or arch your back to send the leg farther behind you.
3. Low hip gate
1 set of 3 open-and-return repetitions per side over 50 seconds, including the side change; allow 10 seconds to reset.
- Hold your support and lift the outside knee a little in front of you. A low lift is enough.
- Move that knee gently outward, bring it back to the front, then put the foot down. Your pelvis stays facing approximately forward.
- Complete three repetitions before changing sides. Reset your balance with both feet down between repetitions.
Make it easier: Leave the toes touching the ground and turn the thigh outward through a much smaller range.
Watch for: Stop before pinching at the front of the hip. Do not twist your standing knee or force the lifted knee wide.
4. Shallow split-stance weight shift
1 set of 4 shifts with each foot forward over 50 seconds, including a stance change; use 10 seconds to transition.
- Face your support and step one foot a short distance back. Keep feet on separate tracks rather than a tightrope; the back heel may lift.
- Bend both knees a little and shift your body slightly forward, keeping the trunk comfortably upright.
- Return to the starting position without pushing into a deep lunge. After four shifts, change which foot is forward.
Make it easier: Shorten the stance and make the knee bends barely visible.
Watch for: Do not drive the pelvis forward while leaning your shoulders back. This is a repeated movement, not a long hip-flexor stretch.
5. Small lateral weight shifts
1 set of 4 shifts each way, alternating, over 50 seconds; allow 10 seconds to reset.
- Stand facing the support with feet slightly wider than your usual stance. Keep both feet pointing comfortably forward.
- Bend one knee a little and send your hips toward that side. Let the other leg become longer without locking its knee.
- Return through the middle and shift the other way. Keep both feet grounded and the movement shallow.
Make it easier: Narrow your stance and move your weight only a few inches.
Watch for: Avoid dropping into a deep side lunge or rolling onto the outer edge of the straightening leg's foot.
6. Supported standing hip extension
1 set of 5 lifts per leg over 50 seconds, including a side change; use 10 seconds to prepare to walk.
- Face the railing or counter with both hands resting on it. Keep your trunk upright and your standing knee relaxed.
- Move one leg a short distance behind you with the knee mostly straight but not locked. Pause briefly, then return the foot to the floor.
- Complete five small lifts and change legs. Keep the front of your pelvis facing the support rather than opening sideways.
Make it easier: Slide your toes backward along the ground instead of lifting the foot.
Watch for: Stop the leg before your lower back arches. This is light muscle work against gravity, not a passive stretch.
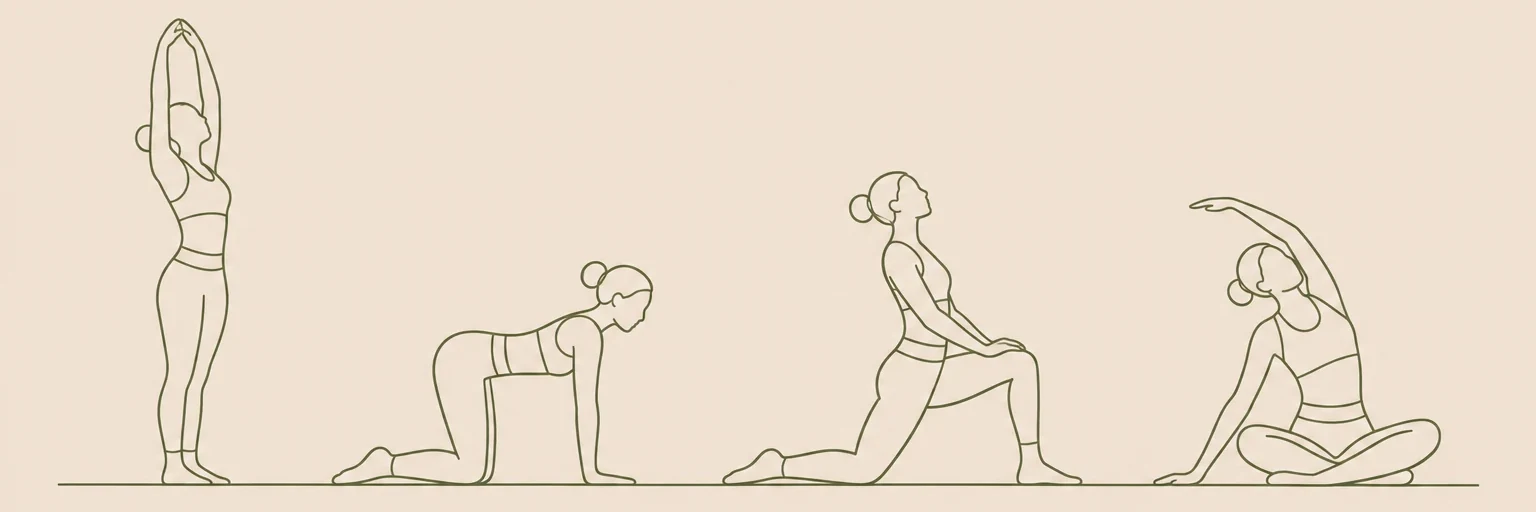
Illustrations are for orientation, not a depth or flexibility target.
Match the routine to the run rather than chasing range
Keep the effort low enough that the first run steps feel like a continuation, not another workout after tired legs. More repetitions are not automatically helpful. If your standing leg becomes fatigued or your balance gets less steady, shorten the work periods and spend more of the ten minutes walking.
Use it before two or three easy runs while learning the sequence. If it suits you, it can become an optional part of later warmups. On non-running days, full body mobility exercises offer a broader mix, while the 15 minute yoga for beginners routine uses shorter held positions. Compare these in the routines hub instead of assuming every run needs several routines.
Frequently asked questions
Should I do long hip stretches before running?
This sequence does not require them. Keep its pre-run movements active and comfortable. If you enjoy held stretches, give them their own unhurried time after you are warm rather than adding deep holds between every drill.
Can I do these after a run instead?
You can use small, easy versions after a gentle walking cooldown, but tired balance may make the supported options especially useful. There is no need to complete the set if your legs feel spent, and it should not replace normal recovery.
Is a clicking hip a sign to push further?
No. A click is not a target or evidence that a movement worked. Reduce the range or leave out the drill. Stop for pain, catching or other symptoms, and get appropriate advice if clicking is new, persistent or concerning.
Do I need a resistance band?
No. Adding a band changes the load and can make the standing leg more tired before running. Learn the unresisted sequence first; use a separate strength session if you want a planned increase in resistance.
Keep exploring routines
Find more in our routines guides, or make the timing your own with the routine builder.
Sources & context
These references inform general movement and safety guidance. The sequence and timings are editorial suggestions, not an individually prescribed program.