
Your step-by-step routine
A clock plan that includes getting into position
Before starting, secure your chair against a wall on a nonslip surface and place the blanket within reach. Begin the timer with one minute of easy walking. Spend the second minute making gentle shoulder circles and alternating heel lifts while holding the chair if needed. These movements are the warmup, not extra minutes hidden outside the routine.
The pose stations begin at 2:00, 3:45, 5:30, 7:15, 9:00 and 10:45. Each has a 105-second budget including rest and position changes. You are not expected to hold a pose for the whole station. If a transfer needs more time, shorten the next hold instead of hurrying to catch up.
At 12:30, sit comfortably on the chair for 90 seconds with hands resting on your thighs. Keep breathing normally rather than trying to make each breath unusually deep. Use the final minute to notice your surroundings, move your ankles and hands, and stand slowly if you want to. Resting seated is a complete finish; lying down is optional, not required.
Choose support before choosing a deeper pose
Arrange support so you do not have to twist or reach suddenly to find it. A chair that slides, folds unexpectedly or tips under your hand is not appropriate. Practice the floor transfer once before timing the session. If it feels uncertain, use the standing lunge and seated tabletop alternatives and stay off the floor entirely.
This general sequence is not individualized advice for an injury or medical condition. If you have restrictions after surgery, pregnancy-related considerations or a condition affecting balance or exercise, ask a qualified healthcare professional about suitable positions first. An instructor can help you learn setup, but you do not need anyone to certify that your pose looks a certain way.
1. Mountain pose with low arm sweeps
1 station of 1 minute 45 seconds: settle for 30 seconds, do 4 slow arm sweeps over 45 seconds, then reset for 30 seconds.
- Stand beside your chair with feet a comfortable distance apart. Soften your knees rather than locking them back.
- Notice the contact of both heels and the front of each foot with the floor. Let your arms hang without forcing a perfectly straight posture.
- Sweep your arms a little forward and outward as you breathe in; lower them as you breathe out. Keep them below shoulder height if that is more comfortable.
Make it easier: Sit near the front of the chair with feet supported and perform the same small arm movement.
Watch for: Do not lean backward or lift your chin to make the arm sweep look larger.
2. Chair-supported shallow chair pose
2 holds of 15 seconds, with 20 seconds standing between; use the remaining 55 seconds for setup, rest and transition.
- Stand facing the secured chair and place your hands lightly on its back. Position your feet so you can bend both knees without reaching for support.
- Send your hips back a little and bend your knees as though starting to sit. Keep your chest comfortably lifted and breathe through the short hold.
- Press through both feet to return to standing. Rest fully before your second hold; stay well above a deep squat.
Make it easier: Make the knee bend very small or remain standing while gently shifting weight through both feet.
Watch for: The legs are supporting your weight here. Do not treat this as a passive stretch or pull on the chair to stay upright.
3. Supported half forward fold
2 holds of 20 seconds with 15 seconds upright between; allow 50 seconds total for setup and transition.
- Place your hands on a secure counter or the chair back. Step back only far enough to make room for a small hip hinge.
- Bend your knees and tip forward from your hips, keeping your hands supported. Let your trunk become diagonal rather than insisting it must be parallel to the floor.
- Hold with normal breaths, then walk your feet closer and return upright slowly. Repeat once if the first hold felt comfortable.
Make it easier: Use a higher counter and a shallower hinge.
Watch for: Do not hang your body weight from an unsecured chair or force the backs of your legs into a strong stretch.
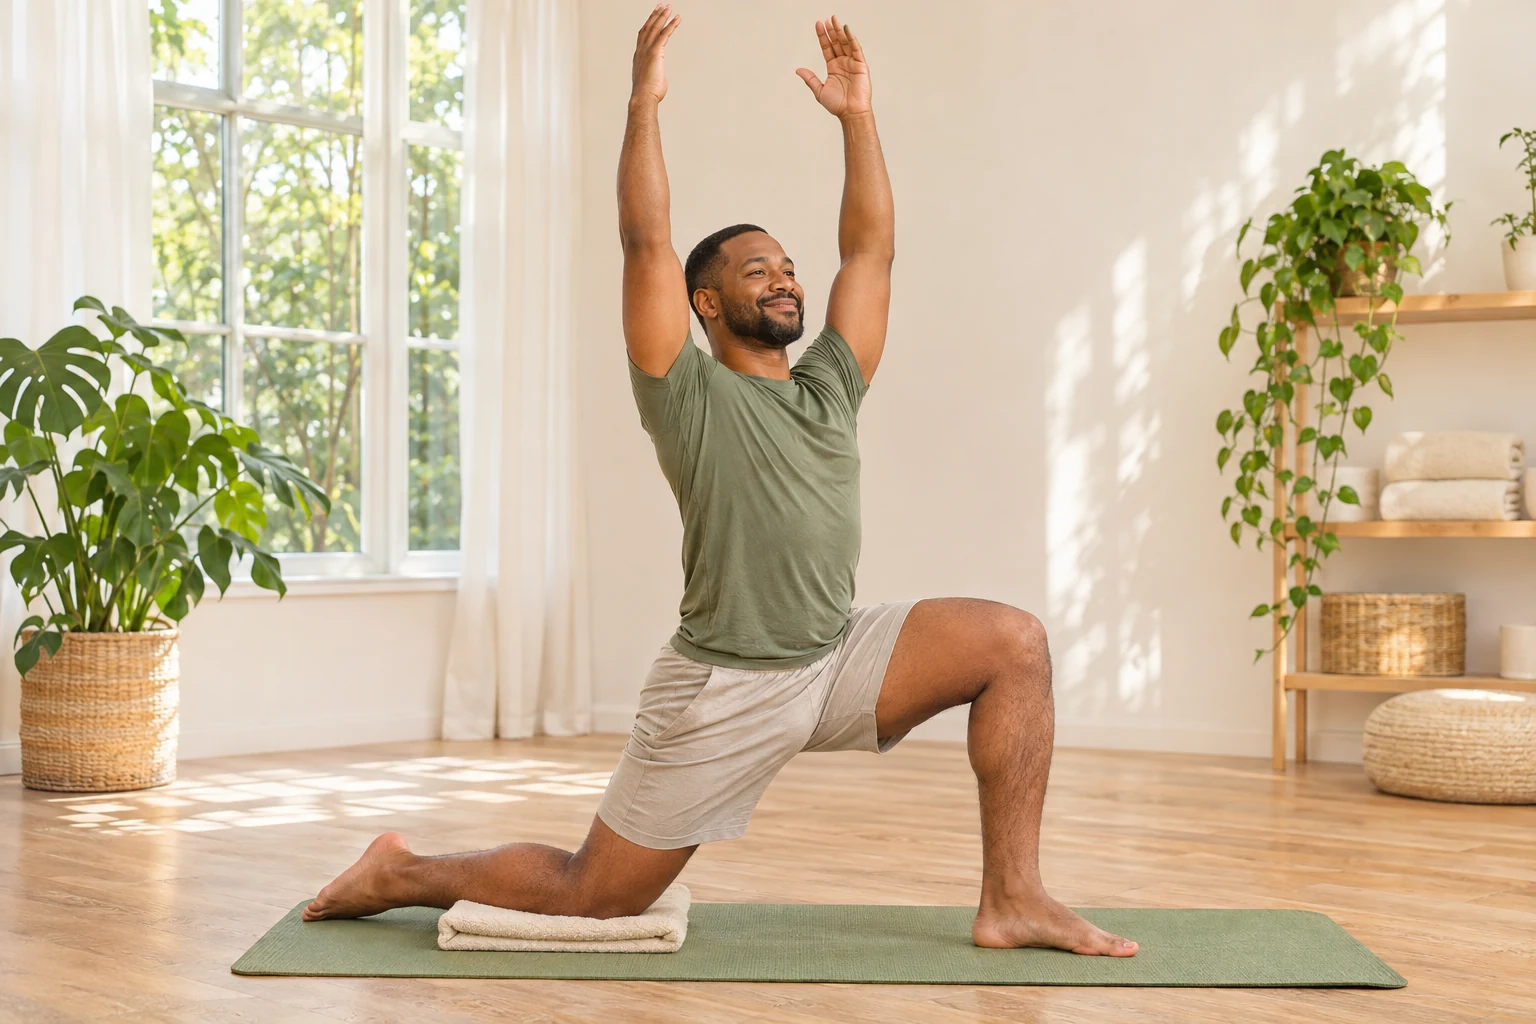
4. Supported low lunge
1 hold of 20 seconds per side; allow 35 seconds to set up and change sides and 30 seconds to transition.
- Kneel on a folded blanket beside your chair, then step one foot forward. Keep your hands on the chair seat if it is securely positioned and within comfortable reach.
- Bring your trunk upright only as far as balance allows. Shift forward a small distance until you notice a mild stretch across the front of the back hip.
- After 20 seconds, shift back before changing legs. Use your hands for balance, and take extra transfer time if needed.
Make it easier: Stay standing with hands on a counter, one foot a short step behind the other and the back heel lifted.
Watch for: Avoid pressing the pelvis forward while arching your lower back. Skip kneeling if padding does not make the position comfortable.
5. Tabletop with small cat-and-return movement
1 set of 5 slow repetitions over about 50 seconds; use 25 seconds to set up and 30 seconds to transition.
- Place hands below shoulders and knees beneath hips, with padding beneath knees as needed.
- Breathe out and gently round your middle back while letting your head follow naturally. Breathe in and return to a comfortable level-backed position.
- Move through a small range. This version returns to level rather than dropping into a deep backbend.
Make it easier: Sit on the chair with hands resting on thighs and make a much smaller rounding-and-return movement.
Watch for: Do not force your chin to your chest or keep weight on uncomfortable wrists.
6. Seated side reach
2 holds of 15 seconds per side; use 15 seconds to settle and 30 seconds for side changes and finishing.
- Sit on your chair with both feet grounded. Rest one hand on the seat and float the other arm out to the side or overhead.
- Lean a small distance toward the supporting hand, keeping both sides of your seat heavy. Look forward instead of twisting to look up.
- Return upright before changing sides. Complete a second short hold each way if your breathing stays relaxed.
Make it easier: Keep the reaching hand on your waist and make a smaller side bend.
Watch for: Avoid collapsing onto the supporting arm or lifting one hip to create more reach.
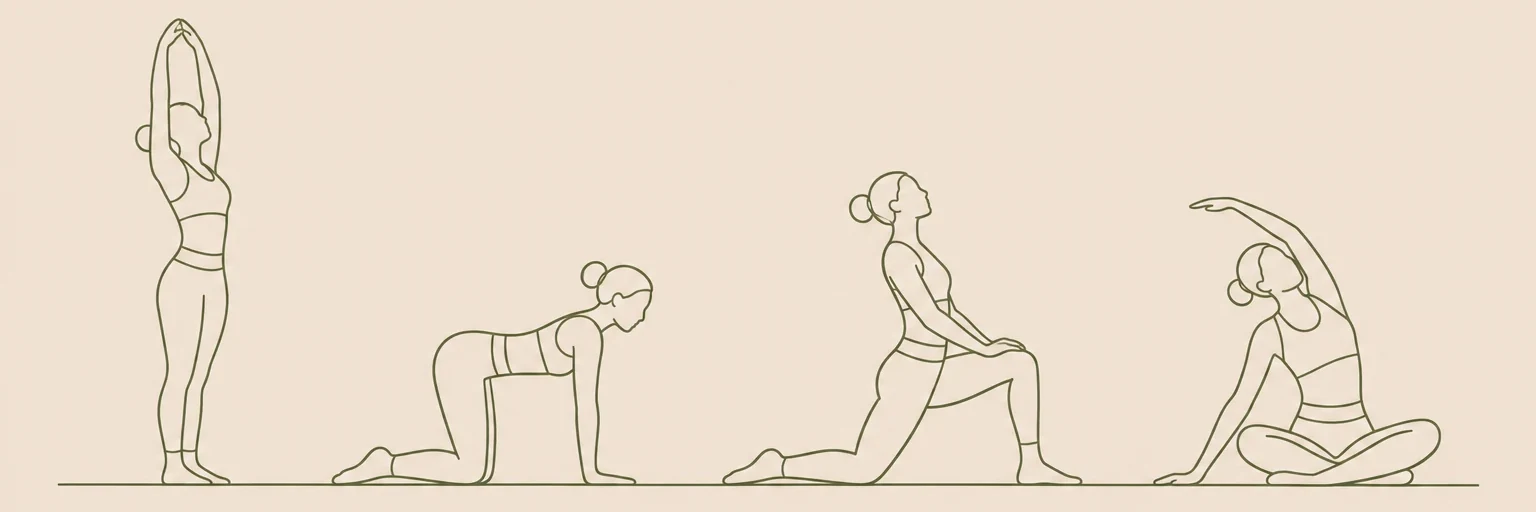
Illustrations are for orientation, not a depth or flexibility target.
How much stretch or muscular effort is appropriate?
The supported lunge and side reach can create a mild stretching sensation. Stay well short of your maximum range and never bounce into it. Chair pose and tabletop involve supporting body weight, so muscular effort is expected; that does not mean you should push through uncomfortable joints. Yoga can combine active loading, balance and stretching in one session.
There is no need to match a photograph, straighten every joint or breathe to a strict count. If your breathing becomes strained, reduce the pose or come out. Sharp pain, pinching, tingling, numbness or dizziness means stop. For chest discomfort, faintness or unusual breathlessness, end the session and seek appropriate help rather than moving to another pose.
Where this short sequence fits in your week
Begin with two sessions a week and see how the movements and transitions feel afterward. Repeat the same supported options while learning them. You can practice more often if the effort stays gentle and you recover comfortably, but daily practice is not a requirement and does not guarantee a particular result.
If you prefer counted repetitions to held poses, try the 10 minute Pilates workout. For more joint-by-joint movement, compare full body mobility exercises. Find the shorter and longer options together in the routines hub before deciding what suits the time and space you have.
Frequently asked questions
Do I need to be flexible before starting?
No specific range is needed for these supported versions. Bend knees, keep arms lower and use the chair. The useful version is the one you can enter and leave with control, not the one that reaches furthest.
Can I do the routine without kneeling?
Yes. Choose the standing split-stance alternative for the low lunge and the seated version of the cat-and-return movement. Keep the same station times so you still have room for rests and transitions.
Should I practice before or after breakfast?
Choose a time when movement feels comfortable. If bending feels unpleasant soon after eating, wait or practice later. There is no special time of day required for this sequence, and you do not need to exercise while hungry.
Keep exploring routines
Find more in our routines guides, or make the timing your own with the routine builder.
Sources & context
These references inform general movement and safety guidance. The sequence and timings are editorial suggestions, not an individually prescribed program.