
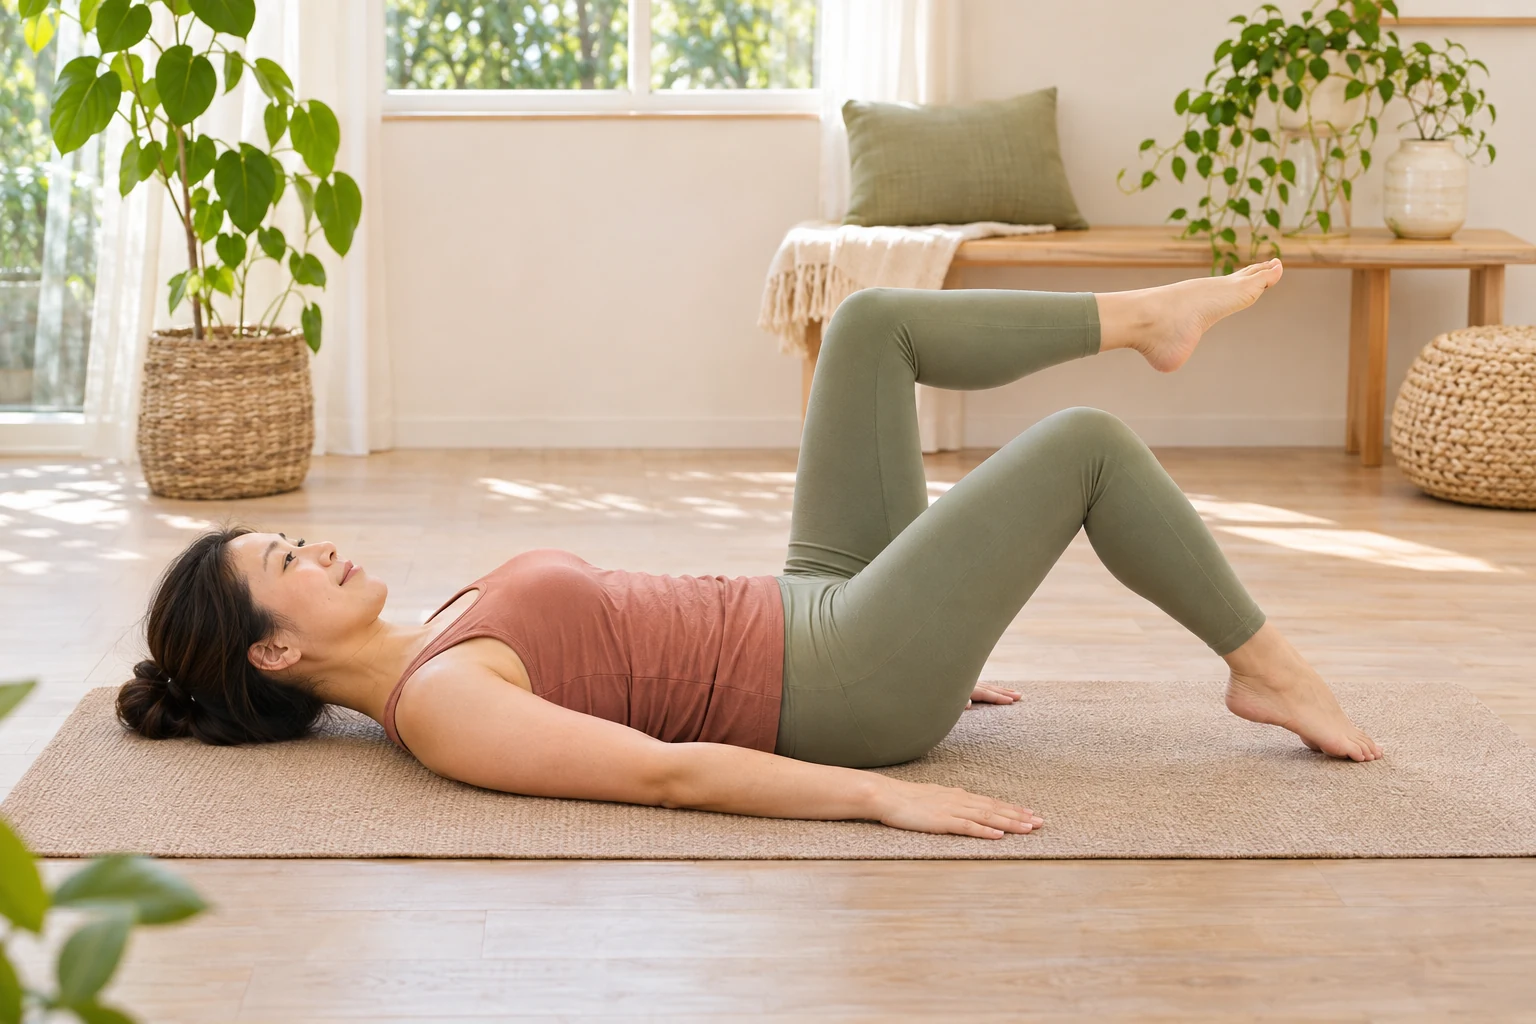
Your step-by-step routine
How to fit the whole routine into ten minutes
Read the movements before starting the clock. Spend the first minute walking gently around your room for 40 seconds, then take 20 seconds to lower yourself to the mat using support if needed. If getting to the floor takes longer, take that time and shorten a work interval instead of rushing.
Start the six stations at 1:00, 2:15, 3:30, 4:45, 6:00 and 7:15. Each lasts 75 seconds, including its transition. Repetition counts are limits, not a challenge: finishing early means resting until the next station. The clam station has its own side-change allowance within the first minute.
At 8:30, stop the exercise sequence. Spend 45 seconds sitting comfortably and breathing normally, then 45 seconds getting up slowly and walking a few easy steps. That completes ten minutes. A pause to answer the door, adjust equipment or read an instruction adds time; it is fine to call that a longer session.
1. Small pelvic rocks
1 set of 6–8 slow repetitions within a 75-second station; allow the final 15 seconds to reset.
- Lie on your back with knees bent, feet resting about hip-width apart and arms beside you. Let your shoulders settle without pressing your neck down.
- Breathe out and gently tip the pelvis so the space beneath your lower back becomes slightly smaller. Breathe in as you return to your starting position.
- Keep the movement subtle. Take about six seconds per repetition, then rest for whatever remains of the first minute.
Make it easier: Make the rocking motion barely visible, or simply practice relaxed breaths with your feet supported.
Watch for: Do not push hard through your feet or repeatedly flatten your back with force.
2. Alternating heel slides
1 set of 4 slides per leg, alternating, within 60 seconds; use 15 seconds to change position.
- Keep the same bent-knee position. Place your fingertips lightly on the front of your pelvis to notice unnecessary shifting.
- Slide one heel away along the mat as you breathe out. Stop before your trunk tips or your lower back noticeably arches.
- Slide the foot back in, then change legs. Count a slide out and back as one repetition; the heel stays supported throughout.
Make it easier: Slide only a few inches and pause between repetitions.
Watch for: This is a controlled leg movement, not a hamstring stretch. Do not chase a straight knee.
3. Low bridge
1 set of 6 repetitions, approximately 8 seconds each, followed by rest and a 15-second transition.
- Set both feet flat beneath or a little forward of your knees. Let your arms rest on the floor.
- Press evenly through your feet and lift your pelvis a modest distance. Pause for one comfortable breath without pushing your ribs upward.
- Lower slowly. Keep your weight across your shoulders and feet rather than turning your head or loading the back of your neck.
Make it easier: Lift only an inch or two, or stay down and gently press both feet into the floor.
Watch for: Stop the lift if you feel pinching in your back, a leg cramp or pressure through your neck.
4. Side-lying clam
1 set of 5 repetitions per side: 25 seconds each side, 10 seconds to roll, then 15 seconds to transition.
- Lie on one side with knees comfortably bent and hips stacked. Support your head with your arm or a folded towel.
- Keep your heels together and open the top knee a short distance. Lower it slowly without rolling your waist backward.
- Complete five unhurried repetitions, roll through a comfortable position and repeat on the other side.
Make it easier: Use a smaller opening and rest your upper hand on the floor for balance.
Watch for: A large knee opening is not the goal. Stop when the pelvis starts to move with the leg.
5. Tabletop single-arm reach
1 set of 3 reaches per arm, alternating, within 60 seconds; allow 15 seconds to sit up.
- Come onto hands and knees, with hands roughly below shoulders and knees beneath hips. Spread your fingers and keep your gaze toward the mat.
- Slide one hand forward along the floor. If you remain steady, lift that hand just clear of the mat for one breath.
- Return it beneath your shoulder and change arms. Keep both knees down; there is no need to add a leg lift.
Make it easier: Perform the reach standing with both hands initially resting on a secure kitchen counter.
Watch for: Avoid sinking into the supporting shoulder. Choose the standing version if your wrists or knees dislike floor support.
6. Seated open-and-close arms
1 set of 6 slow repetitions within 60 seconds; use the final 15 seconds to settle.
- Sit tall on the mat or a stable chair. Keep your feet grounded if using a chair, and rest between repetitions if sitting upright is tiring.
- Reach both arms forward below shoulder height. Open them only as far as you can without lifting your ribs or pulling your shoulders back forcefully.
- Bring the arms forward again with a soft bend in the elbows. Move slowly enough that you can continue breathing normally.
Make it easier: Bend your elbows more, keep hands lower or move one arm at a time.
Watch for: This is light active work, not a deep chest stretch. Keep the arm range comfortable.
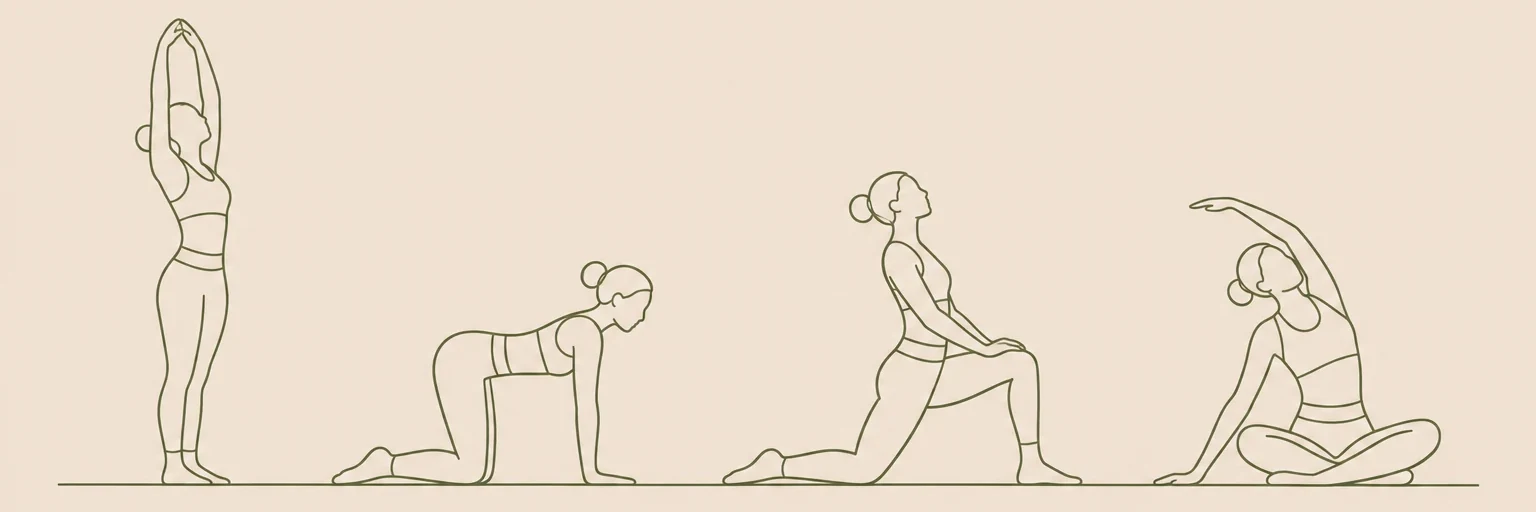
Illustrations are for orientation, not a depth or flexibility target.
What should the effort feel like?
Aim for an easy-to-moderate muscular effort with enough attention left to notice your position. The bridge, clam and supported reach work against gravity; they are loaded movements even without weights. The heel slides and pelvic rocks are controlled movement practice. None requires a strong passive stretch or a breath held through the hard part.
Exhale during a lift or reach if that feels natural, but do not let a breathing pattern make you tense. Keep your face and jaw relaxed. If you have to brace so hard that you cannot speak a short sentence, reduce the range or rest. Shaking that keeps increasing is another reason to finish the set early.
Make the next session a useful repeat
Try this short practice two or three times a week at first, leaving a day between sessions if the muscle work feels new. Repeat the same version until the transitions and instructions feel familiar. Ten minutes is a manageable practice window, not a promise of a particular fitness result or a replacement for varied weekly activity.
If you want a different focus on another day, choose full body mobility exercises. For a slower standing-and-floor sequence, use 15 minute yoga for beginners. The routines hub lets you compare durations before choosing rather than stacking several unfamiliar sessions together.
When to change or stop an exercise
Stop a movement for sharp, catching or spreading pain, tingling, numbness or dizziness. Do not repeat the same motion to see whether those sensations disappear. Chest discomfort, faintness or unusual shortness of breath means stopping the session and seeking appropriate help. This is general exercise instruction, not an assessment of symptoms.
If you have a recent operation, an injury, pregnancy-related restrictions or an existing condition affecting exercise, ask a qualified healthcare professional which positions and loads are suitable before following a general routine. Floor transfers can be the hardest part; a standing or chair-based session may be a better starting format.
Frequently asked questions
Is ten minutes enough Pilates for a beginner?
It is enough time to practice a small set of movements carefully. Whether it is enough for your broader activity goals depends on the rest of your week. Start with consistent technique rather than treating a short session as a complete fitness program.
Should I do a second round?
Not within the advertised ten minutes. A second round makes a longer session and adds more muscle work. First finish one round with steady breathing and controlled transitions; you do not need extra rounds to make the practice worthwhile.
Can I use a bed instead of a mat?
A soft mattress changes balance and makes the tabletop reach less stable. A firm padded floor surface is more predictable. If floor exercise is not practical, choose a chair or standing routine instead of trying to reproduce every movement on a bed.
Keep exploring routines
Find more in our routines guides, or make the timing your own with the routine builder.
Sources & context
These references inform general movement and safety guidance. The sequence and timings are editorial suggestions, not an individually prescribed program.