
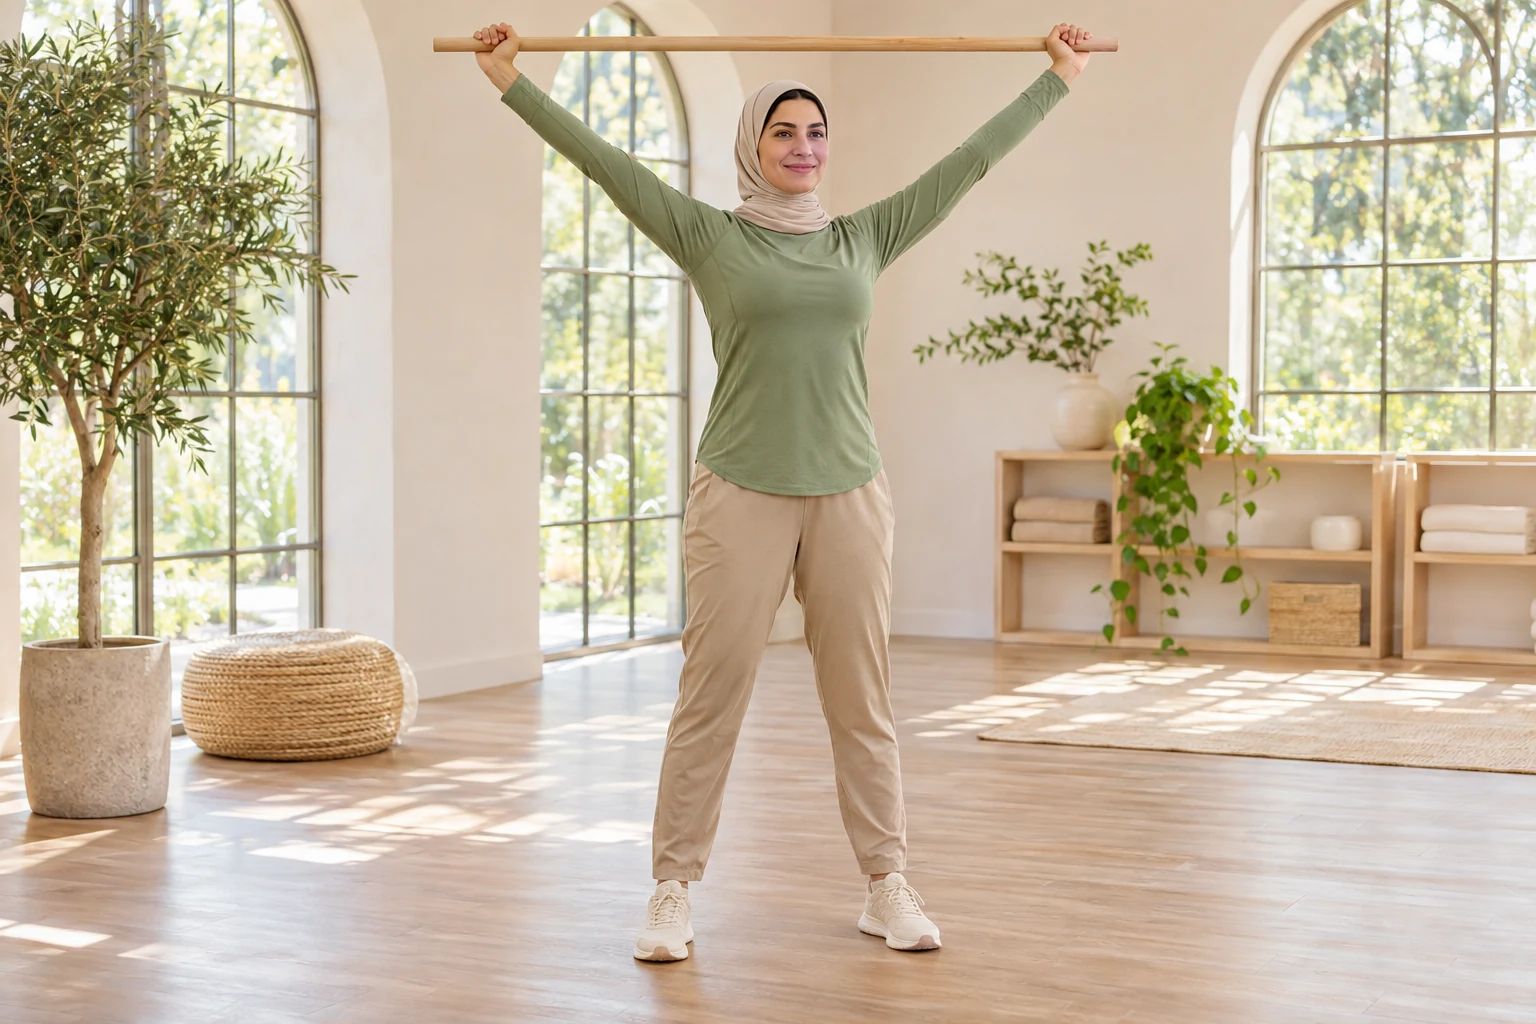
Your step-by-step routine
How do you follow the ten-minute plan?
After warming up for two minutes, spend one minute at each station. Complete only the stated set and use the remaining seconds to relax your arms. Take twenty seconds between stations to change position or move from the table to the wall. Finish with twenty seconds of easy standing or sitting. Read the movement instructions and arrange the furniture before starting the timer.
If setup or transitions take longer, the session will be longer than ten minutes, which is fine. Do not hurry a chair transfer to match a clock. Keep the table and wall close enough for easy access, but leave enough clear floor that you will not step over a chair leg.
1. Small shoulder rolls
One set of 4 rolls backward and 4 forward, taking about 4 seconds per roll; rest during the remainder of the minute.
- Sit or stand with arms loose and your head balanced over your trunk.
- Make a small circle with both shoulders: gently up, back, down and forward. Let the arms hang rather than lifting them.
- Reverse the direction after four circles. Keep breathing and allow the movement to stay smaller on one side if needed.
Make it easier: Move one shoulder at a time or replace the circle with a tiny lift and relaxed lowering.
Watch for: Do not force the shoulders down or squeeze the shoulder blades hard together. More tension is not the aim.
2. Supported tabletop arm slide
One set of 4 slides per arm at about 5 seconds each, allowing the rest of the minute for changing sides and resting.
- Sit facing a stable table. Rest one hand and forearm on a folded towel with the elbow comfortably bent.
- Slide the hand forward a short distance as you lean your trunk forward slightly from the hips.
- Slide back and return upright. Keep the arm supported throughout; repeat with the other side.
Make it easier: Move the towel only a few inches and keep more of the forearm on the table.
Watch for: Check that the towel moves smoothly before starting. Do not shove past a sticking point or let the shoulder shrug toward your ear.
3. Elbows-at-sides outward rotation
One set of 8 slow repetitions with both arms, around 4 seconds each; pause for the rest of the station.
- Sit or stand with elbows bent to about right angles and resting lightly beside your waist, palms upward.
- Move your hands a little apart while keeping the elbows near your sides and wrists relaxed.
- Return the hands toward the starting position. Use your own muscles rather than pushing with a stick or pulling on the hands.
Make it easier: Open only a few inches, or practise one side at a time.
Watch for: Avoid pinching your shoulder blades together to manufacture range. This is unresisted active rotation, not a band-strength exercise.
4. Low diagonal arm raise
One set of 4 raises per arm, alternating at about 5 seconds per repetition; rest within the minute.
- Stand or sit tall with arms at your sides and thumbs pointing forward.
- Raise one arm on a slight forward diagonal, with the thumb gradually pointing upward. Stop below shoulder height or earlier if needed.
- Lower slowly, then switch arms. Keep your ribs from lifting and your head from moving forward to meet the hand.
Make it easier: Bend the elbow to shorten the lever or raise only to waist height.
Watch for: There is no need to reach overhead. Even without a weight, lifting the arm works against gravity and can become tiring.
5. Short wall slide
One set of 6 repetitions at about 5 seconds each. Lower the arms and rest for the rest of the station.
- Face the wall with your feet a small step away. Place both palms on the wall around chest height.
- Slide the hands upward a short distance, allowing the shoulder blades to move naturally with the arms.
- Slide down before your ribs flare, shoulders pinch or wrists become uncomfortable. A few inches of travel is enough.
Make it easier: Use one hand at a time or return to the supported tabletop slide.
Watch for: Do not lean your body weight heavily into the wall or force both hands to reach the same height.
6. Gentle cross-body shoulder hold
One 20-second hold per arm, with the remaining time for releasing and changing sides.
- Bring one arm loosely across the front of your chest, keeping it below shoulder height.
- Use the other hand to support the upper arm above the elbow, adding only enough guidance for a mild stretch behind the shoulder.
- Keep your trunk facing forward, breathe normally, then release completely before switching arms.
Make it easier: Do not pull with the supporting hand; simply hold the arm in a comfortable crossed position.
Watch for: This is the routine's held stretch. Avoid pressure on the elbow, forcing the arm against the chest or continuing through a front-of-shoulder pinch.
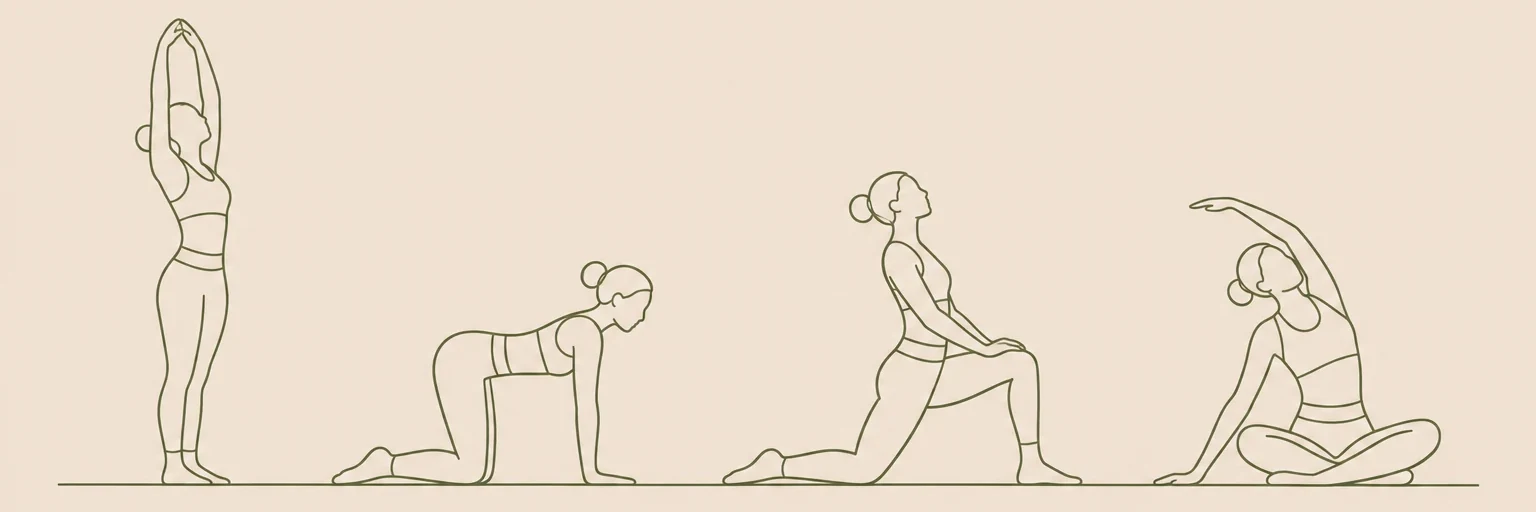
Illustrations are for orientation, not a depth or flexibility target.
How high should you lift your arms?
Use a height you can reach and leave smoothly, without a sudden shrug, trunk lean or pinching sensation. Shoulder height is a ceiling for the diagonal raise in this beginner sequence, not a required destination. For the wall slide, stop wherever your movement remains comfortable; touching a high mark is not the goal.
The shoulder blade normally moves as the arm lifts, so do not try to pin it down throughout every repetition. Let it glide while keeping the neck reasonably relaxed. If one arm travels less far, give each side its own manageable range instead of making the smaller side copy the other.
Which movements load the shoulder?
The diagonal raise lifts the weight of your arm against gravity. Outward rotation also uses active muscle effort, although there is no band. Table slides partly support the arm, and the final cross-body hold is a sustained stretch. These are different demands; a movement that feels easy on the table may feel harder without support.
Do not add dumbbells to turn this into a harder workout before you know how the unloaded version feels. This is movement practice rather than a complete strengthening plan. For broader upper-body motion, the separate thoracic spine mobility exercises explore the rib cage without requiring high arm lifts.
When should you pause, and how often can you practise?
Start with two or three sessions weekly, leaving a day between early sessions to notice any later response. Stop an exercise for sharp or increasing pain, catching, new tingling, numbness or a feeling that the joint is unstable. Reduce the range for mild strain, but do not repeatedly test a movement that provokes symptoms.
Recent injury, dislocation, surgery or an existing restriction on lifting needs individual exercise advice first. Sudden inability to lift an arm after an injury is not something to work through with this routine. For other options, browse the mobility exercise hub or try beginner hip mobility exercises on a different day. There is no need to combine all sessions.
Frequently asked questions
Do I need to get my hands overhead?
No. This sequence deliberately allows lower arm positions. Overhead movement is not an entry requirement, and repeatedly reaching into an uncomfortable arc is not a useful progression.
Can I do these exercises sitting down?
The rolls, rotations, raises and cross-body hold can be seated with both feet supported. The tabletop slide is already seated. Replace the wall station with another small table-slide set if standing is unsuitable, while keeping the one-minute station.
Should I hold my shoulders back all day?
No. This routine does not ask you to maintain one rigid posture. Let your arms rest naturally between repetitions and change positions during the day rather than holding a continuous shoulder-blade squeeze.
Keep exploring mobility
Find more in our mobility guides, or make the timing your own with the routine builder.
Sources & context
These references inform general movement and safety guidance. The sequence and timings are editorial suggestions, not an individually prescribed program.