
Your step-by-step routine
How does the ten-minute timing work?
After the two-minute warmup, give each movement one minute, including its short rests. Take twenty seconds between stations to move the chair or change position without rushing. After the final hinge, spend twenty seconds standing or sitting quietly. That totals ten minutes. If moving between sitting and standing takes longer, allow extra time rather than cutting corners.
There is only one set of each exercise. Read the instructions beforehand; instruction-reading time is not part of the timer. You can also do the first four standing stations together and keep the chair close for the seated station. Nothing in this routine requires getting onto the floor.
1. Supported alternating march
One set of 5 lifts per side, alternating; about 4 seconds per lift. Rest for the remainder of the 60-second station.
- Stand beside the secured chair, feet about hip-width apart, with one hand resting on its back.
- Lift one knee a little while keeping your trunk upright. Pause briefly, then lower the whole foot quietly before changing sides.
- Keep the standing knee softly unlocked. Choose a height that does not make you lean backward or hitch one side of your waist.
Make it easier: Keep the lifting toes touching the floor and alternate small heel lifts, or march while seated.
Watch for: Avoid pulling your thigh toward your chest with your hand. This is active lifting, not a held stretch.
2. Small supported hip circles
One set of 3 small circles each direction on each leg; around 3 seconds per circle. Use the remaining station time to settle.
- Face the chair with both hands lightly supported and your feet under your hips.
- Lift one foot just off the floor. Draw a small circle with the knee, keeping your belt line facing forward.
- Reverse direction, put the foot down and repeat on the other leg. The circle can be only a few inches across.
Make it easier: Keep your toes on a smooth, non-slippery floor and trace a very small circle without transferring all your weight.
Watch for: Do not swing the leg quickly or twist through the standing knee to enlarge the circle.
3. Standing side slide
One set of 5 repetitions per side, about 4 seconds each; rest within the 60-second station.
- Keep facing the chair. Shift enough weight onto your left foot to let the right foot move.
- Slide or lift the right foot a short distance sideways, toes still pointing mostly forward.
- Return slowly without bumping the feet together. Complete that side, then change legs.
Make it easier: Slide the toes only a hand-width and use both hands for balance.
Watch for: A sideways trunk lean changes the task. Reduce the travel if your shoulders tip or the standing foot rolls outward.
4. Short backward toe reach
One set of 5 reaches per side at roughly 4 seconds per repetition, with the remaining time for rest.
- Stand tall behind the chair with a light two-hand hold and knees relaxed.
- Reach one foot a short distance behind you, touching the toes down while the front knee stays soft.
- Bring the foot back underneath you. Keep your lower ribs stacked above your pelvis rather than arching your back.
Make it easier: Use a shorter reach and keep almost all your weight over the front foot.
Watch for: You do not need a strong sensation across the front of the hip. Stop the reach before your back starts doing the movement.
5. Seated small knee opening
One set of 5 openings per side, roughly 4 seconds each. Pause with both feet down for the rest of the minute.
- Sit near the middle of the secured chair with both feet flat, slightly forward of your knees.
- Keeping the right heel in contact with the floor, let the right knee move a little outward as the foot turns naturally with the leg.
- Return to the starting position, then repeat on the other side. Keep the pelvis level and do not press on the knee.
Make it easier: Make the movement smaller or place a folded towel on the seat if it helps you sit comfortably.
Watch for: Do not pin the foot straight ahead while forcing the knee outward. Skip this movement if it feels uncomfortable at the knee.
6. Supported hip hinge
One set of 6 slow repetitions, taking about 6 seconds each. Stand and rest for the remaining station time.
- Stand facing the chair with hands on its back, feet hip-width and knees slightly bent.
- Send your hips backward a little while tipping your whole trunk forward from the hips.
- Return to standing by bringing your hips forward under your ribs. Keep your neck in line with your trunk and breathe throughout.
Make it easier: Make this a tiny backward weight shift rather than a deep fold.
Watch for: The goal is a controlled hip fold, not reaching the floor, rounding your back or locking your knees.
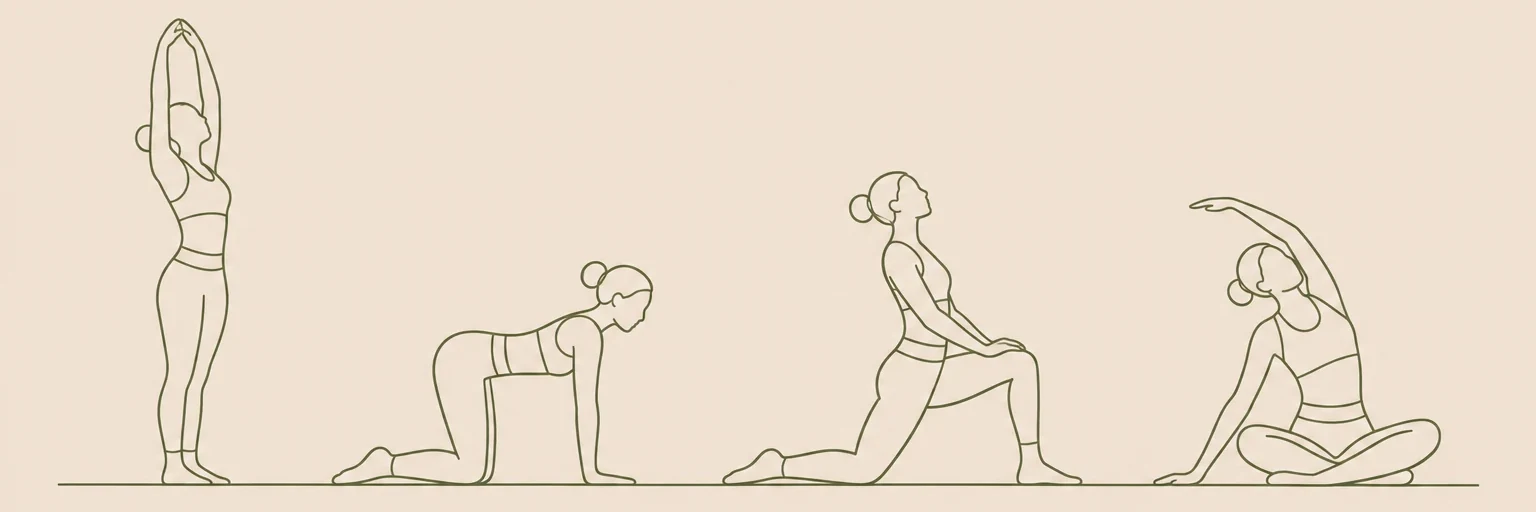
Illustrations are for orientation, not a depth or flexibility target.
What should hip mobility feel like?
Think of mobility here as moving your own leg through a manageable range while controlling your trunk. Some muscles may feel gently active, and a mild stretching sensation can occur, but neither is a target to chase. Supported marching and hinging involve muscle effort and body-weight loading; they are not passive stretches.
A pinch at the front of the hip is a reason to shorten or stop that particular motion, not push higher. Stop for sharp or increasing pain, catching, new tingling, numbness or a feeling that the leg may give way. Seek individual guidance before continuing if symptoms persist. Follow existing activity restrictions after surgery or injury.
Which option should a beginner choose first?
Start with the smallest version that you can repeat smoothly. A chair is there to reduce the balance demand, not to pull against. If gripping it hard is the only way to stay upright, use the seated alternatives or pause. Wear shoes that grip your floor; socks on smooth flooring can make standing slides unpredictable.
If the hip hinge is unfamiliar, practise it separately for two or three tiny repetitions before starting the timer. You should be able to send your hips backward without dropping your head. For a wider menu of short sessions, visit the mobility exercise hub.
How often should you repeat this routine?
Try two or three nonconsecutive days in the first week and notice how you feel later that day and the next morning. If the amount is manageable, keep it the same before adding anything. More range, more repetitions and less chair support are separate changes; choose just one rather than progressing all three together.
Hip movement is only one part of a larger routine. If your heel lifts when you bend your knees, explore the separate ankle mobility exercises rather than forcing a deeper hip position. For an upper-body session on another day, use the thoracic spine mobility exercises. These sequences are options, not a requirement to complete everything at once.
Frequently asked questions
Do I have to do deep squats or floor stretches?
No. This routine uses a chair and standing movements. A deep squat is not a prerequisite for practising hip control, and a smaller range can be a useful starting point.
Should both hips move equally?
Not necessarily. Use a comfortable range on each side without trying to match the larger side. A new or pronounced difference accompanied by discomfort deserves individual advice rather than extra repetitions.
Can this replace strength training?
No. Although several movements use body weight, this short practice is not a complete progressive strength program. Treat it as movement practice alongside whatever broader activity is appropriate for you.
Keep exploring mobility
Find more in our mobility guides, or make the timing your own with the routine builder.
Sources & context
These references inform general movement and safety guidance. The sequence and timings are editorial suggestions, not an individually prescribed program.