
Your step-by-step routine
Before your first session: remove the small obstacles
Clear a space large enough to extend your arms without hitting a table or lamp. Place the mat flat so curled edges cannot catch your feet. Keep the chair beside the mat rather than across the room. You do not need special music, a heated room, incense or new clothing.
Read each floor transition before trying it. If you are unsure about getting down and up, stay seated for those stations or choose chair yoga for beginners instead. The yoga hub groups the different practice formats so you can pick one that suits your available space.
Follow a realistic 15-minute clock
Begin with three minutes of easy walking or supported marching, gradually adding small shoulder rolls. The five stations then take ten minutes altogether, including their rests and setup allowances. Finish with two minutes: roll onto your side if lying down, sit up slowly, pause, then stand with support when ready.
Treat the timer as a guide rather than a deadline. If lowering to the floor takes more than 45 seconds, pause the clock and continue at your own pace. Read instructions beforehand rather than trying to read a screen in a forward fold. Doing one round is enough for this first session.
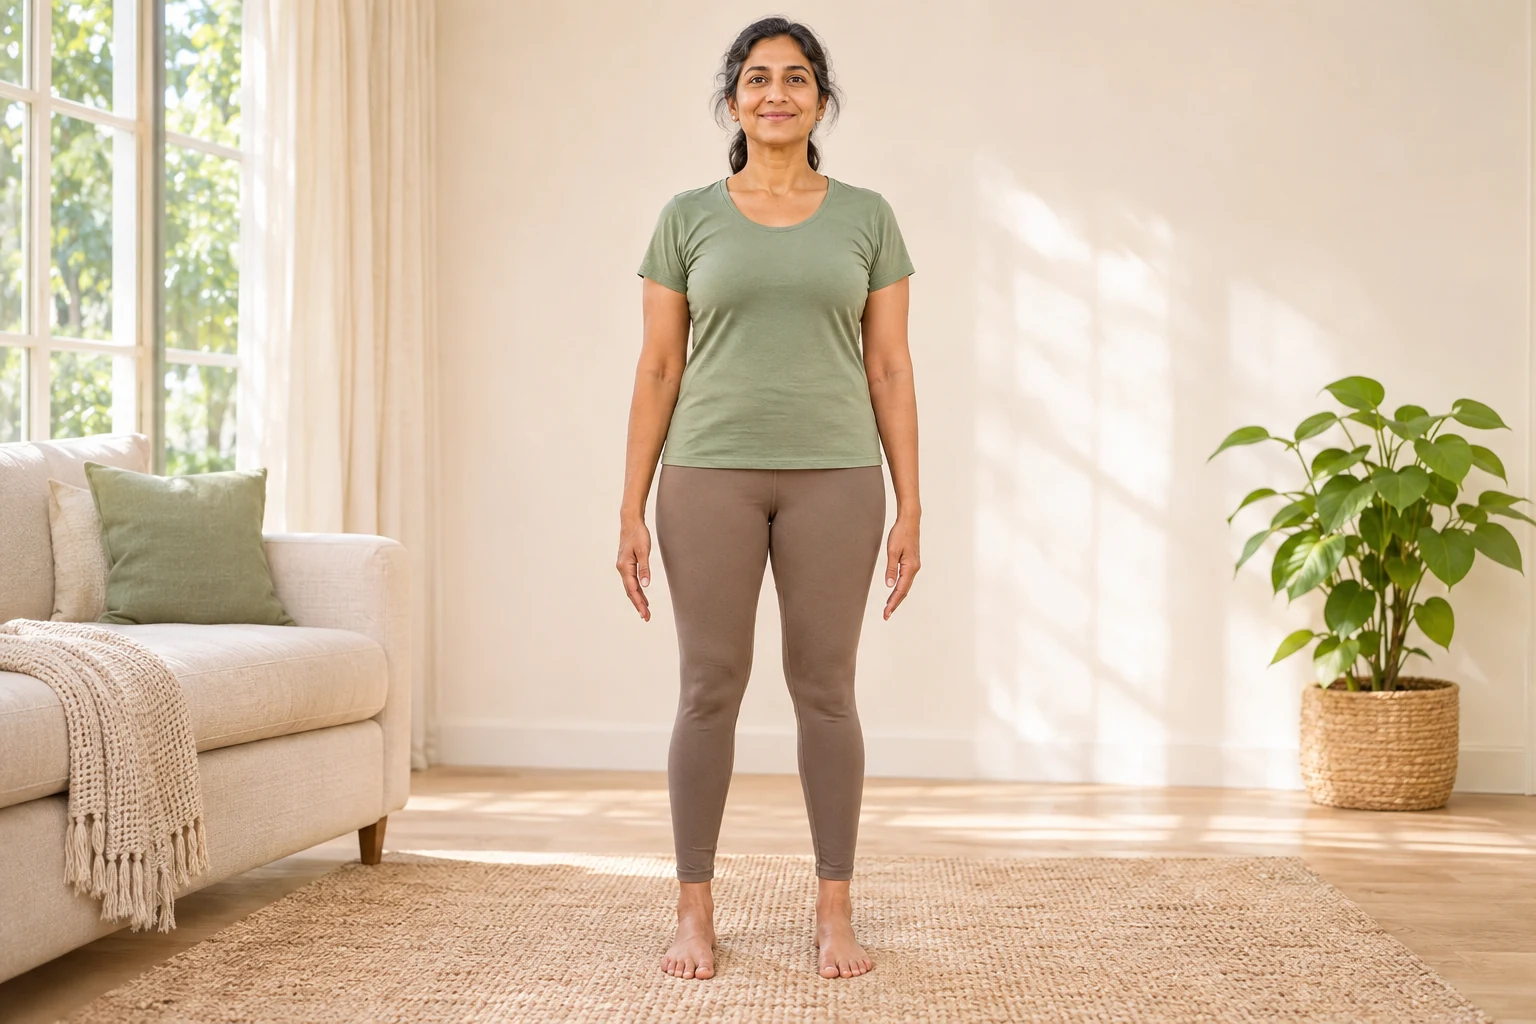
1. Mountain pose: find a comfortable standing base
2 minutes: stand for 30 seconds, reset for 15 seconds, repeat once, then allow 30 seconds to prepare the next station.
- Stand beside the secured chair with feet roughly hip-width apart. Touch the chair lightly if needed and leave a small softness in your knees.
- Let your arms hang. Notice whether your weight is mostly on your heels or toes, then settle somewhere between without gripping the floor.
- Keep your head comfortably above your ribs and breathe normally. During the reset, move your feet or sit down rather than trying to stand perfectly still.
Make it easier: Sit on the chair with both feet supported and your hands on your thighs. Let the chair back support you.
Watch for: Do not lock the knees, squeeze every muscle or pull your shoulders sharply backward. Standing steadily is enough.
2. Easy upward reach
2 minutes: five slow raises and lowers over 75 seconds, then 45 seconds to rest and set up.
- From standing or sitting, begin with your hands beside your hips. Turn the palms slightly forward if comfortable.
- Raise your arms outward to a height that leaves your neck relaxed. Lower them slowly; one lift and lower is one repetition.
- Let an ordinary inhale accompany the lift and an exhale accompany the lowering if that feels natural. Otherwise, simply keep breathing.
Make it easier: Raise one arm at a time or slide both hands up and down the thighs. Shoulder height is an optional ceiling, not a minimum.
Watch for: Do not lean backward to send the arms higher. Stop if reaching creates pinching, dizziness or tingling.
3. Chair-supported half forward fold
2 minutes: three 15-second holds, with 15 seconds upright after each, plus 30 seconds for foot placement.
- Face the chair and put your hands on its back. Step away a little, keeping the feet stable and the knees softly bent.
- Move your hips backward and tip your trunk forward as one comfortable unit. Keep your head in line with your back.
- Stop well before your trunk needs to become horizontal. Step closer and return upright after each hold.
Make it easier: Use a wall with hands at chest height, or stay seated and make a small forward hinge with hands on thighs.
Watch for: The arms bear some weight here. Check that the chair cannot slide or tip, and do not drop your chest between your shoulders.
4. Tabletop with a small cat movement
2 minutes: allow 45 seconds to lower to the mat, do four slow round-and-return repetitions over 60 seconds, then rest for 15 seconds.
- Use support to lower onto hands and knees if comfortable. Put a blanket beneath your knees, hands under shoulders and knees under hips.
- Gently press the floor away and let your gaze rest on the mat. Breathe out as you round your back a little.
- Return to an ordinary neutral back as you breathe in. There is no need to move into a deep arch or lift your chin.
Make it easier: Remain seated and round the upper back slightly with hands resting on the thighs. This avoids floor transfers and wrist loading.
Watch for: Tabletop is a body-weight support exercise, not just a stretch. Stop for wrist or knee discomfort instead of forcing the position.
5. Constructive rest
2 minutes: use up to 45 seconds to roll onto your back, then rest for 75 seconds with knees bent.
- From hands and knees, move to sitting and roll onto your side before coming onto your back. Take longer if needed.
- Set both feet on the mat, knees bent and arms beside you. Use a thin folded towel under the head if that is more comfortable.
- Notice contact with the mat and let your breathing continue without counting or deliberately taking very deep breaths.
Make it easier: Rest on your side with a pillow between the knees, or remain seated with your back supported and feet grounded.
Watch for: Change position if lying flat feels uncomfortable. You do not need to close your eyes or stay still through discomfort.
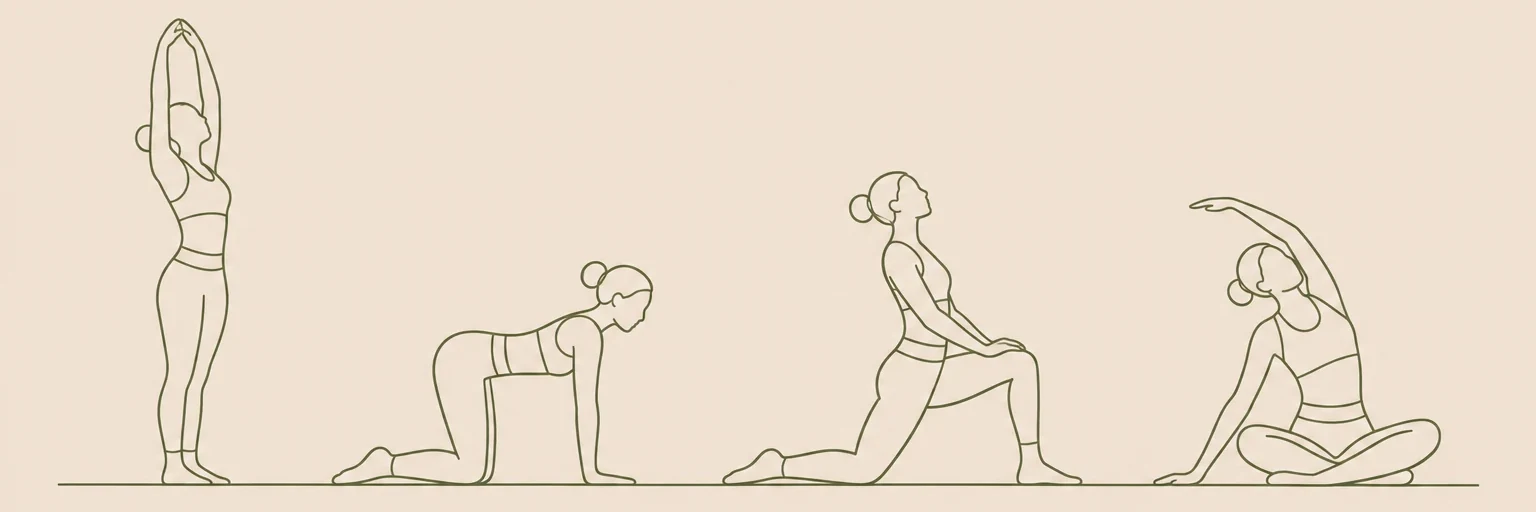
Illustrations are for orientation, not a depth or flexibility target.
What should a beginner actually feel?
You may notice mild muscular effort in standing or tabletop and a gentle pulling sensation during the supported fold. Loaded movement means your muscles support some body weight; passive stretching relies more on a support or gravity. They are different tasks, and neither needs a strong sensation to be worthwhile practice.
Stop a movement for sharp pain, joint pinching, numbness, tingling or dizziness. End exercise for chest discomfort or unusual breathlessness and seek appropriate help. A health condition, recent operation, pregnancy or injury may require individual adjustments from a suitable healthcare professional. This introduction is general exercise information, not a personal assessment.
Choose your next session by familiarity, not ambition
Repeat this version two or three times over a week if it feels comfortable, leaving a rest day when you feel tired or sore. Keep a simple note of which chair height and arm range worked. At the next session, repeat the same sequence before considering longer holds or additional poses.
When the position changes feel familiar, explore the wider menu in 12 basic yoga poses for beginners. If your main interest is gentle holds, yoga poses for beginners for flexibility explains support and stretch intensity. You do not need to progress to floor work, inversions or a fast class to keep practicing.
Frequently asked questions
Do I need to learn special breathing first?
No. Ordinary breathing is enough for this session. Coordinating a comfortable inhale or exhale with movement is optional; avoid breath holds or forcing a very slow breath.
Can I start with only five minutes?
Yes. Do the three-minute warmup and the two-minute mountain station, using the seated option if preferred. Leave a little extra time afterward to settle before returning to other activities.
Is soreness a sign I practiced correctly?
No. Soreness is not a goal or a score. Reduce the next session if you feel unusually tired or sore, and do not repeat a movement that causes sharp or persistent discomfort.
Will I need a teacher eventually?
A beginner class can provide demonstrations and individual options, but it is not a requirement for repeating this small routine. Check that any class welcomes beginners and allows you to skip positions.
Keep exploring yoga
Find more in our yoga guides, or make the timing your own with the routine builder.
Sources & context
These references inform general movement and safety guidance. The sequence and timings are editorial suggestions, not an individually prescribed program.