
Your step-by-step routine
Before you lie down
Clear enough space to stretch your arms without hitting furniture. A mat should cushion the knees without sliding or sinking deeply. Practise getting down using a stable support if needed, and never rely on a rolling chair. If getting onto the floor is not currently manageable, choose a standing or seated routine rather than improvising the transitions.
For minute one, walk gently around the room. In minute two, add easy ankle lifts and low shoulder movements. During minute three, lower to sitting and then onto your side before rolling onto your back. This setup is included in the advertised time; extend it if you need to. Read the exercise descriptions once before starting the timer.
1. Breathing with a small pelvic tilt
Block 1, 3:00–5:00: one set of 6 slow breathing cycles with a small tilt, then rest.
- Lie on your back with knees bent, feet planted and arms resting. Use a thin head towel if it helps your neck settle.
- Inhale comfortably into the sides of your ribs. As you exhale, gently tip the pelvis so the lower-back curve becomes a little smaller.
- Return toward your starting position on the next inhale. Keep the movement subtle and avoid pushing through your feet to lift.
Make it easier: Leave the pelvis still and follow six relaxed breaths without trying to make them unusually deep.
Watch for: Do not brace as hard as possible or force your back flat. Keep the jaw and shoulders relaxed.
2. Alternating heel slide
Block 2, 5:00–7:00: one set of 5 slides per side, alternating; about 5 seconds per repetition.
- Begin with both feet down and your pelvis in a comfortable resting position.
- Exhale and slide one heel away, keeping it in contact with the mat. Stop before your pelvis rolls or your ribs lift.
- Inhale as you draw the heel back. Pause, then change legs; keep the other foot planted.
Make it easier: Slide only a hand's width and reset between repetitions.
Watch for: Straightening the knee is optional. Control of the return matters as much as how far the heel travels.
3. Single bent-knee opening
Block 3, 7:00–9:00: one set of 5 openings per side, alternating; allow about 5 seconds each.
- Keep knees bent and feet on the mat. Rest fingertips on the front of your pelvis to notice unwanted rocking.
- Let one knee open gently outward while the foot stays supported, rolling slightly onto its outside edge if comfortable.
- Bring the knee back over the foot, then repeat on the other side. Keep the opposite leg quiet.
Make it easier: Make the opening only a few inches wide, with no attempt to lower the knee toward the floor.
Watch for: This is active leg control, not a groin stretch. Stop the opening before the opposite side of the pelvis follows.
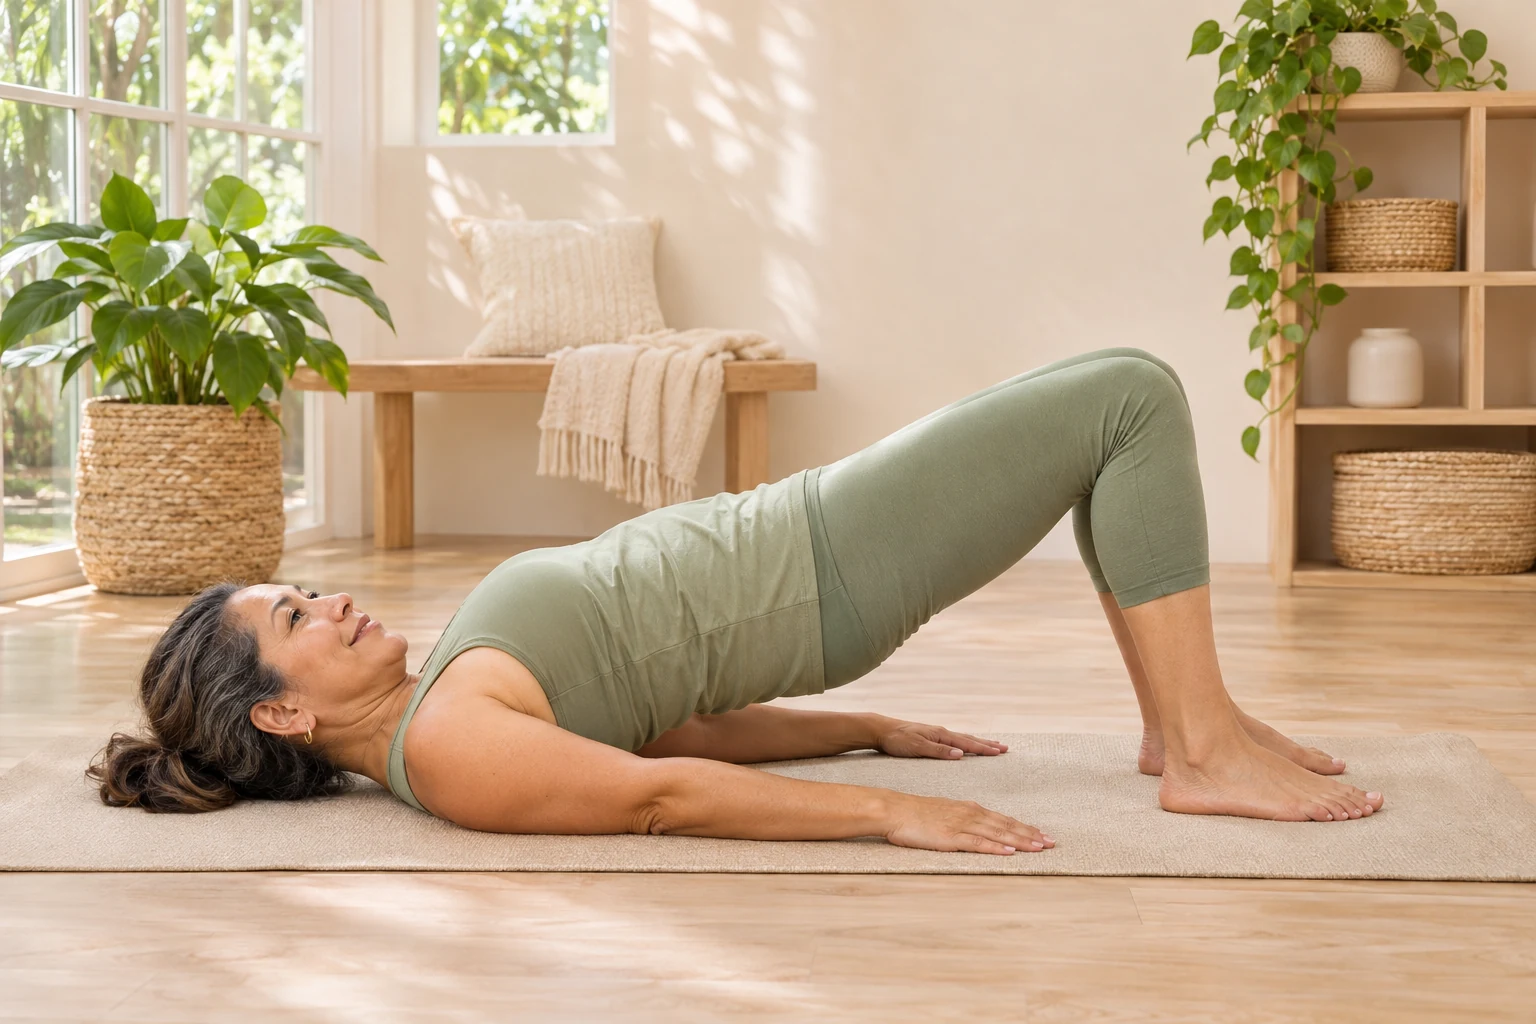
4. Small bridge
Block 4, 9:00–11:00: one set of 6 repetitions, about 6 seconds each, then recover.
- Set feet about hip-width with knees pointing in the same direction as the toes.
- Press evenly into both feet and exhale as the pelvis rises a short distance. Keep the ribs from lifting into a large back arch.
- Pause for a count and lower smoothly. Let the pelvis rest completely before the next repetition.
Make it easier: Use a very low lift, or repeat the pelvic tilt from block one instead.
Watch for: Do not push through your head or neck. If a hamstring cramps, lower, rest and shorten or skip the next attempt.
5. Side-lying bent-knee opening
Block 5, 11:00–13:00: one set of 6 repetitions per side, about 5 seconds each; allow 20 seconds to turn.
- Roll onto your side with hips and knees comfortably bent. Support your head and stack your hips rather than leaning backward.
- Keep feet together and lift the upper knee a short distance without rolling your pelvis open.
- Lower slowly. After six repetitions, pause, turn carefully and repeat on the other side.
Make it easier: Open the knee only slightly or do fewer repetitions on each side.
Watch for: Place your top hand on your hip to feel rolling. More height is not useful if the whole torso moves.
6. Hands-and-knees single-arm reach
Block 6, 13:00–15:00: one set of 4 reaches per side, alternating; about 5 seconds per reach.
- Move onto hands and knees, with hands under shoulders and knees under hips. Add knee padding if useful.
- Slide one hand forward along the mat first. If stable, float it slightly without shifting your trunk toward the other side.
- Return the hand under the shoulder and change arms. Keep breathing and look down rather than lifting your chin.
Make it easier: Keep fingertips on the floor for the whole slide. If wrists object, replace this block with supine alternating arm reaches.
Watch for: Keep both knees down. A straight-arm balance is optional, and lifting the opposite leg is not part of this beginner sequence.
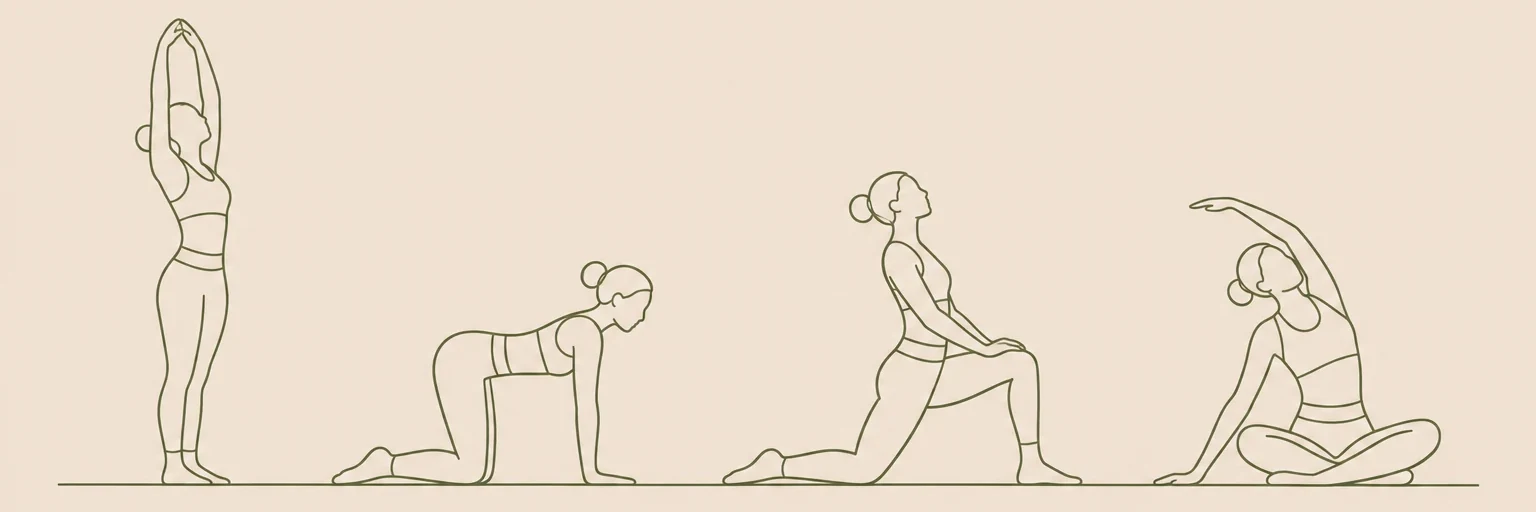
Illustrations are for orientation, not a depth or flexibility target.
Why the routine does not start with advanced abdominal moves
A beginner does not need roll-ups, long straight-leg holds or repeated head lifts to begin practising Pilates-style control. Here the head stays supported during the back-lying movements, and each leg moves only as far as you can manage without rocking. A small movement with steady breathing is a useful starting point.
These movements create light muscular work against body weight and gravity. They are not passive stretches, even when a position looks similar to one. Avoid holding a knee open to seek a strong pulling sensation. If you want more standing upper-body work instead, try the Pilates arm workout.
Use the rest time rather than adding repetitions
Each two-minute block contains one set, recovery and setup for the next movement. Most sets take under a minute. For the side-lying block, use about 30 seconds on the first side, 20 seconds to turn, 30 seconds on the second side and the remaining 40 seconds to rest and reposition. Pause the timer if a change takes longer.
From 15:00–16:00, return to side-lying or comfortable sitting, take several normal breaths and rise slowly when ready. If getting up requires more time, give yourself that time. The clock is a planning tool, not a reason to hurry through the part of the workout where your position changes most.
When to repeat, progress or stop
Begin with two sessions on nonconsecutive days. Repeat the same sequence until the positions feel familiar and the last repetition resembles the first. Then add one repetition to one exercise, or slightly increase its range, while leaving other variables unchanged. More exercises are not automatically a better session.
If you later want a prop, the Pilates ball workout introduces a small soft ball with specific handling instructions. You can compare the whole series in the Pilates hub. There is no requirement to buy equipment before progressing with body-weight movements.
Stop for sharp discomfort, tingling, dizziness, joint pinching or symptoms that build with each repetition. Do not push through to complete the timer. If an injury, recent operation, pregnancy or health condition affects exercise choices, seek suitable individual guidance first. This general routine does not assess your needs or replace individual instruction.
Frequently asked questions
Should I keep my lower back completely flat?
Not throughout the routine. Start with a comfortable resting curve and avoid forcing a particular shape. The first exercise briefly changes the pelvic angle; the later exercises ask you to limit unwanted rocking, not press harder into the floor.
Is once through enough for a beginner?
Yes. One round includes work, rest and learning the transitions. Finish there initially. You can make the prescribed movements more controlled before adding a second round or choosing a longer class.
Can I do the routine on my bed?
A soft mattress changes support and can make it harder to control movement or kneel securely. Use a stable, nonslip floor surface with appropriate cushioning. If floor access is difficult, choose a seated session instead.
What if I cannot coordinate breathing and movement?
Keep breathing normally and simplify the movement. You can practise one repetition, pause, then continue. Avoid holding your breath just to match a cue; comfortable breathing is more important than a perfectly timed inhale.
Keep exploring pilates
Find more in our pilates guides, or make the timing your own with the routine builder.
Sources & context
These references inform general movement and safety guidance. The sequence and timings are editorial suggestions, not an individually prescribed program.