
Your step-by-step routine
The complete 15-minute schedule
Spend the first minute walking or marching gently. During the second minute, sit and move your ankles and shoulders through small comfortable ranges. Use minute three to lower onto the mat through your side, settle your feet and take several unforced breaths. If you need longer, extend the warmup rather than rushing.
Follow the six 90-second blocks in order. Each includes one set, recovery and at least 15 seconds for positioning; the side-lying block uses its changeover to switch sides. Finish from 12:00–13:00 lying comfortably with feet down and no ball, from 13:00–14:00 rolling to your side and coming to sitting, and from 14:00–15:00 with gentle seated marching. Rest extra whenever needed.
1. Hand press above the ribs
Block 1, 3:00–4:30: one set of 6 presses, 3 seconds pressing and 3 seconds easing off.
- Lie on your back with feet flat and knees bent. Hold the ball between open palms above the lower ribs, elbows softly bent.
- Exhale and gently compress the ball while keeping shoulders resting comfortably. Keep it away from your face.
- Inhale as the ball returns to its shape. Rest it on your abdomen between repetitions if you need a break.
Make it easier: Perform the press seated with forearms resting near your sides.
Watch for: Do not grip with tense fingertips or let the wrists fold sharply backward.
2. Inner-thigh contact and release
Block 2, 4:30–6:00: one set of 8 light squeezes, about 4 seconds each, then rest.
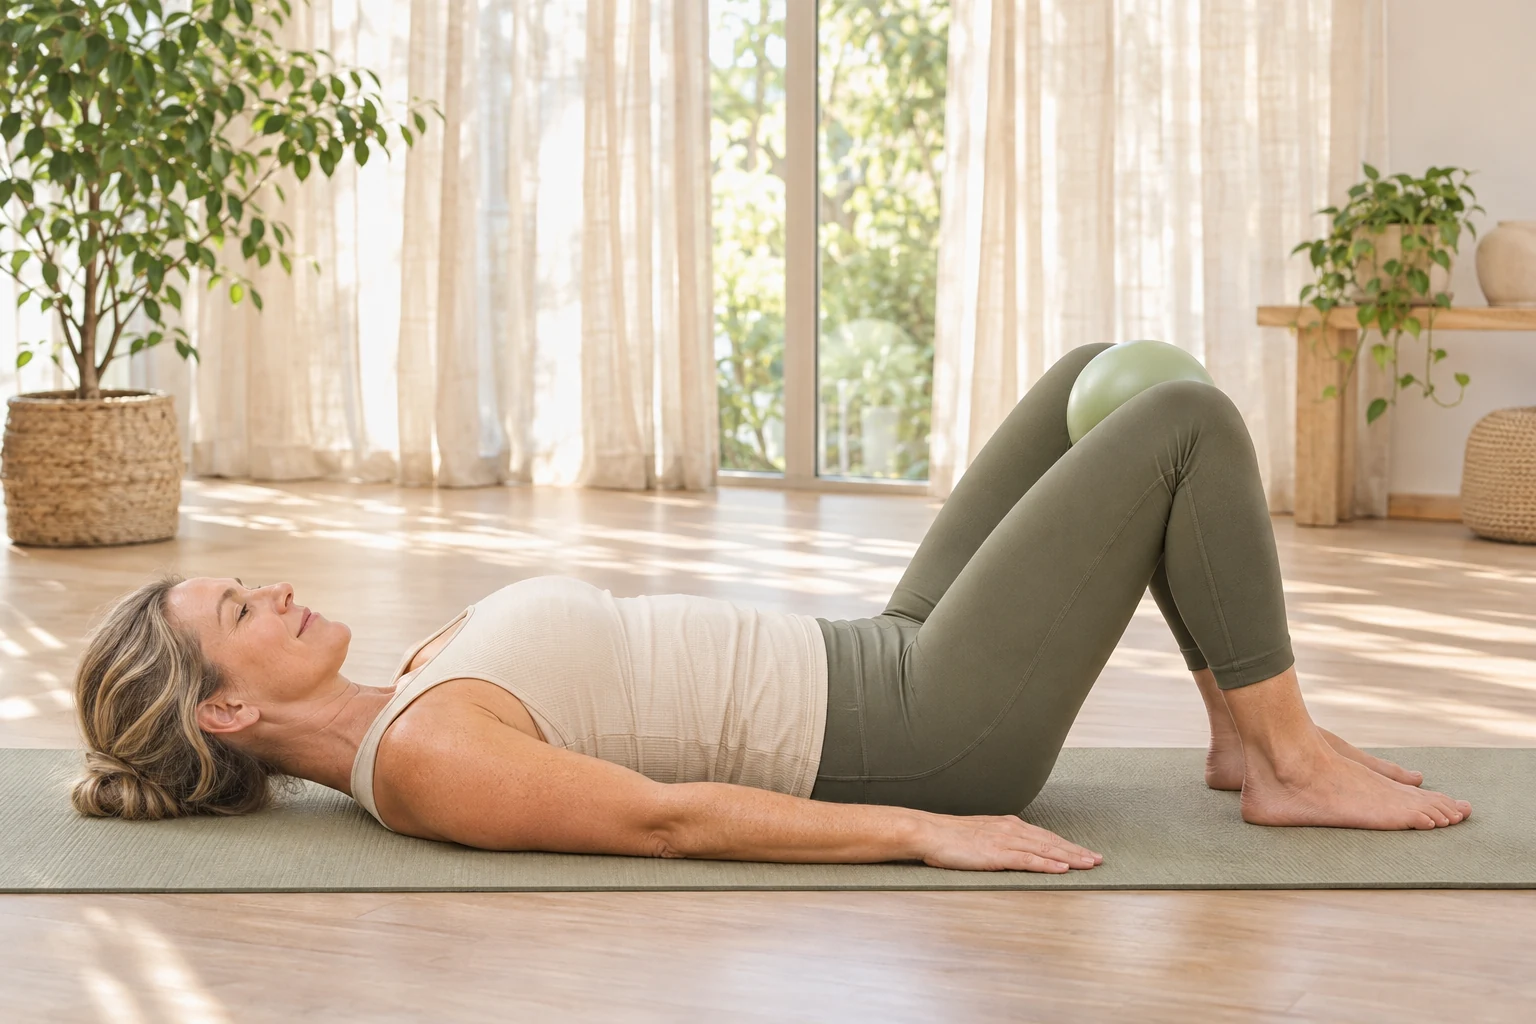
- Place the ball between the thighs just above the knees, with feet planted and the pelvis resting on the mat.
- Exhale and gently press the thighs toward the ball for 2 seconds without rolling onto the inner edges of your feet.
- Ease off for 2 seconds, maintaining just enough contact to prevent the ball from escaping.
Make it easier: Use a folded towel if the ball spreads your knees wider than is comfortable.
Watch for: Do not put the ball directly between the knee joints or turn a light squeeze into a maximal effort.
3. Small bridge with ball contact
Block 3, 6:00–7:30: one set of 6 bridges, about 6 seconds each.
- Keep the ball above the knees, feet flat and arms beside you. Use only light thigh contact.
- Exhale and lift your pelvis a few inches, stopping before your ribs flare or your lower back arches.
- Pause for a count, then lower steadily. Reset both feet before the next repetition.
Make it easier: Remove the ball and lift a smaller distance, or keep the pelvis down and practise a gentle tilt.
Watch for: If the ball slips, lower first and retrieve it afterward. Do not twist while holding the bridge.
4. Alternating heel slide with hand-held ball
Block 4, 7:30–9:00: one set of 4 slides per side, alternating; allow about 5 seconds per slide.
- Take the ball out from between your legs and hold it lightly over the lower ribs. Start with both knees bent.
- Slide one heel away along the mat as you breathe out, stopping before your pelvis tips or your back position changes noticeably.
- Slide back on an inhale, then change legs. Keep your hands relaxed; squeezing the ball is optional here.
Make it easier: Rest the ball beside you and move the heel only a few inches.
Watch for: The leg does not need to straighten. Do not press the lower back hard into the floor to gain distance.
5. Side-lying top-hand ball press
Block 5, 9:00–10:30: 4 presses on each side, 4 seconds each; use the middle 15 seconds to roll over.
- Lie on your side with knees bent and head supported on your lower arm or a folded towel.
- Place the ball on the floor in front of your chest, top palm resting on it and elbow bent. Exhale and press down gently without rolling your chest.
- Release gradually. After four repetitions, remove your hand, roll carefully to the other side and repeat.
Make it easier: Press your palm lightly into a folded towel on the floor, or omit this block and rest.
Watch for: The ball is a resistance cue, not a support for your torso. Keep your body weight on the mat.
6. Seated forward ball roll
Block 6, 10:30–12:00: one set of 6 small rolls, about 6 seconds each, with setup time first.
- Sit comfortably on the mat with knees bent and feet down. Place the ball between your legs within easy reach.
- Rest fingertips on the ball and roll it forward a short distance by hinging from the hips, keeping your chest comfortably open.
- Roll back to upright without pulling your shoulders toward your ears. Stay within a range that requires no straining.
Make it easier: Sit on a chair and roll the ball a short distance on a stable table instead.
Watch for: Do not lean your weight onto the ball or chase a deep forward fold. This is a moving reach, not a long passive stretch.
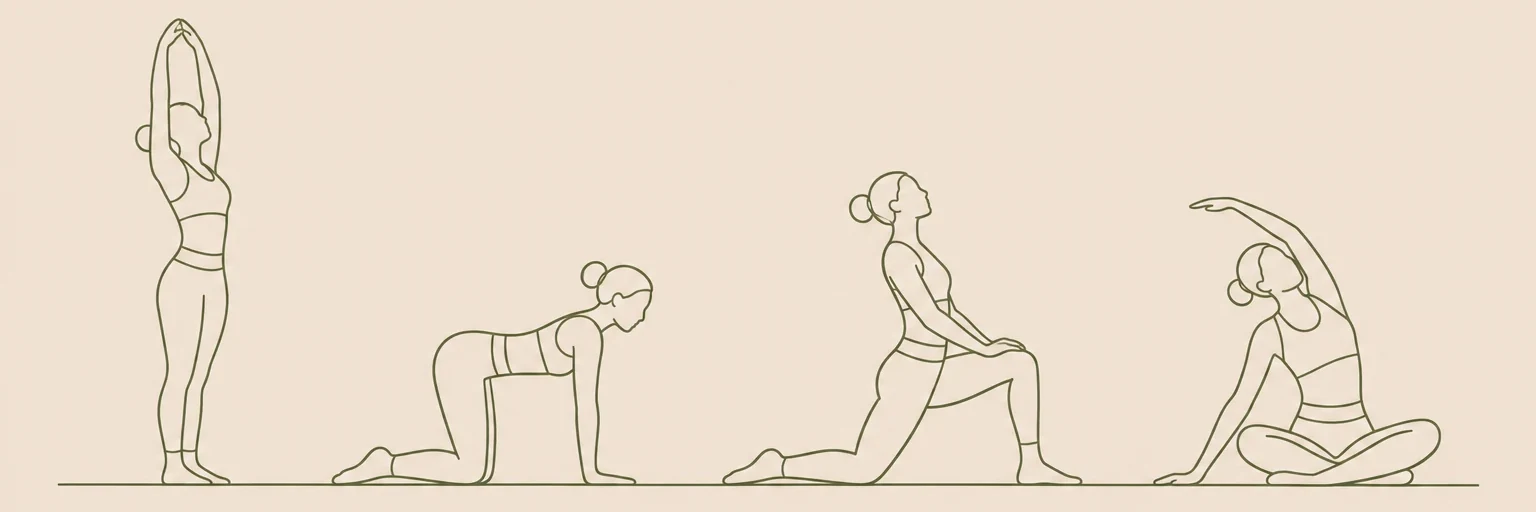
Illustrations are for orientation, not a depth or flexibility target.
Which Pilates ball is suitable?
Choose a soft ball intended for exercise and follow its inflation and weight-limit instructions. It should yield a little under gentle hand pressure without collapsing. Check the plug is secure, the surface is intact and the ball is dry. Avoid rough flooring and sharp jewellery. A child's toy ball is not a reliable substitute.
This routine deliberately keeps the ball out from under the neck, spine and pelvis. Placing a small rolling prop under those areas changes the balance and support demands. More instability is not a necessary progression. To start with no prop at all, use the Pilates beginner mat workout.
What should the exercises feel like?
The presses and bridge are loaded exercise, even though the ball feels soft. The heel slide is a controlled leg movement, and the final roll is an active reach. None needs a strong stretching sensation. Work at an effort where you can keep breathing and stop before the last repetition becomes a different movement.
Stop for joint discomfort, sharp sensations, tingling, dizziness or loss of control. Seek suitable individual guidance if a health condition, recent surgery, pregnancy or injury affects floor exercise. Do not use the ball to push farther into an uncomfortable position. General exercise sources below support gradual practice; they do not establish special results for this sequence.
How often can you repeat it?
Start with twice a week on separated days and see how you feel during the session and the following day. Repeat the same dose while the setups are unfamiliar. Once steady, add one repetition to one movement, leaving the other blocks unchanged. There is no need to add a second round to every exercise.
If you prefer a firmer resistance cue, read the Pilates ring workout; its handling rules are different, so do not swap equipment mid-sequence. The Pilates hub collects the full set of routines. Choose one session that fits your time rather than treating every linked workout as a daily checklist.
Frequently asked questions
Is this a large exercise-ball workout?
No. A large stability ball has different uses and balance demands. This routine uses a small, soft Pilates ball only for light compression and controlled contact.
Can I put the ball under my lower back?
That is outside this routine. Keep the pelvis supported by the floor. If an exercise only feels manageable with a prop under your back, choose its easier version or get individual instruction.
What if the ball keeps rolling away?
Stop and reset rather than reaching suddenly after it. Dry the ball and mat, check its size, and reduce pressure. Use the towel or no-ball option if it still will not stay secure.
Keep exploring pilates
Find more in our pilates guides, or make the timing your own with the routine builder.
Sources & context
These references inform general movement and safety guidance. The sequence and timings are editorial suggestions, not an individually prescribed program.